Getting started with Vendroad - Step by step process to get your online store live in 10 minutes.
If you want a stylish professional online store without spending lots of money on designers, developers, or subscriptions, you are at the right place. This guide will take you through how to setup your store and go live within 10 minutes.
Step 1 - Sign up
All you need is an email address. To create an account:
- Go to Vendroad account creation page.
- Choose to continue with google or email
That's it, no credit card required. Start with our free plan and decide when to upgrade.
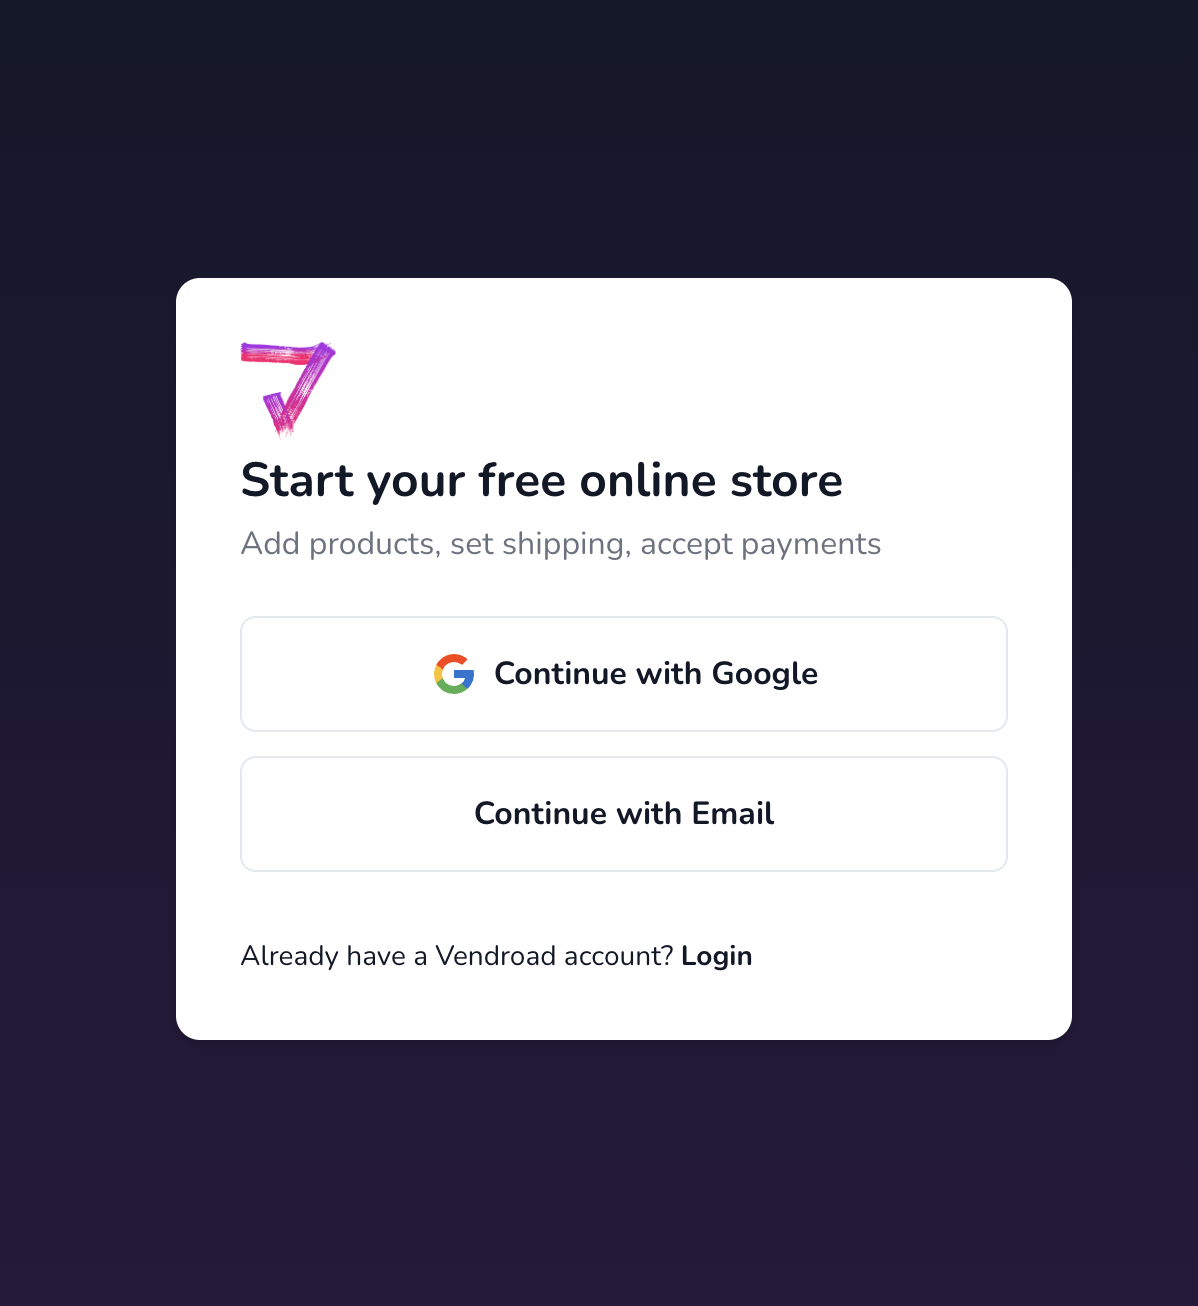
Account creation page
Step 2: Add your products
Now it's time to add products to your store. On our free plan, you can add up to 5 products, the starter plan allows you to add 50 products, and the sky is the limit for our pro plan.
To add a new product:
- Click "Add product" from Vendroad admin
- Add your product details (Name, description, price) Note that we use name and description to instantly help optimize for SEO. Describe your products, the way you would want customers to find it on Google.
- Add images to display for this product
- Optionally assign to a category
- Optionally create product variants, if this product has more than one variation, e.g color and size.
- Save
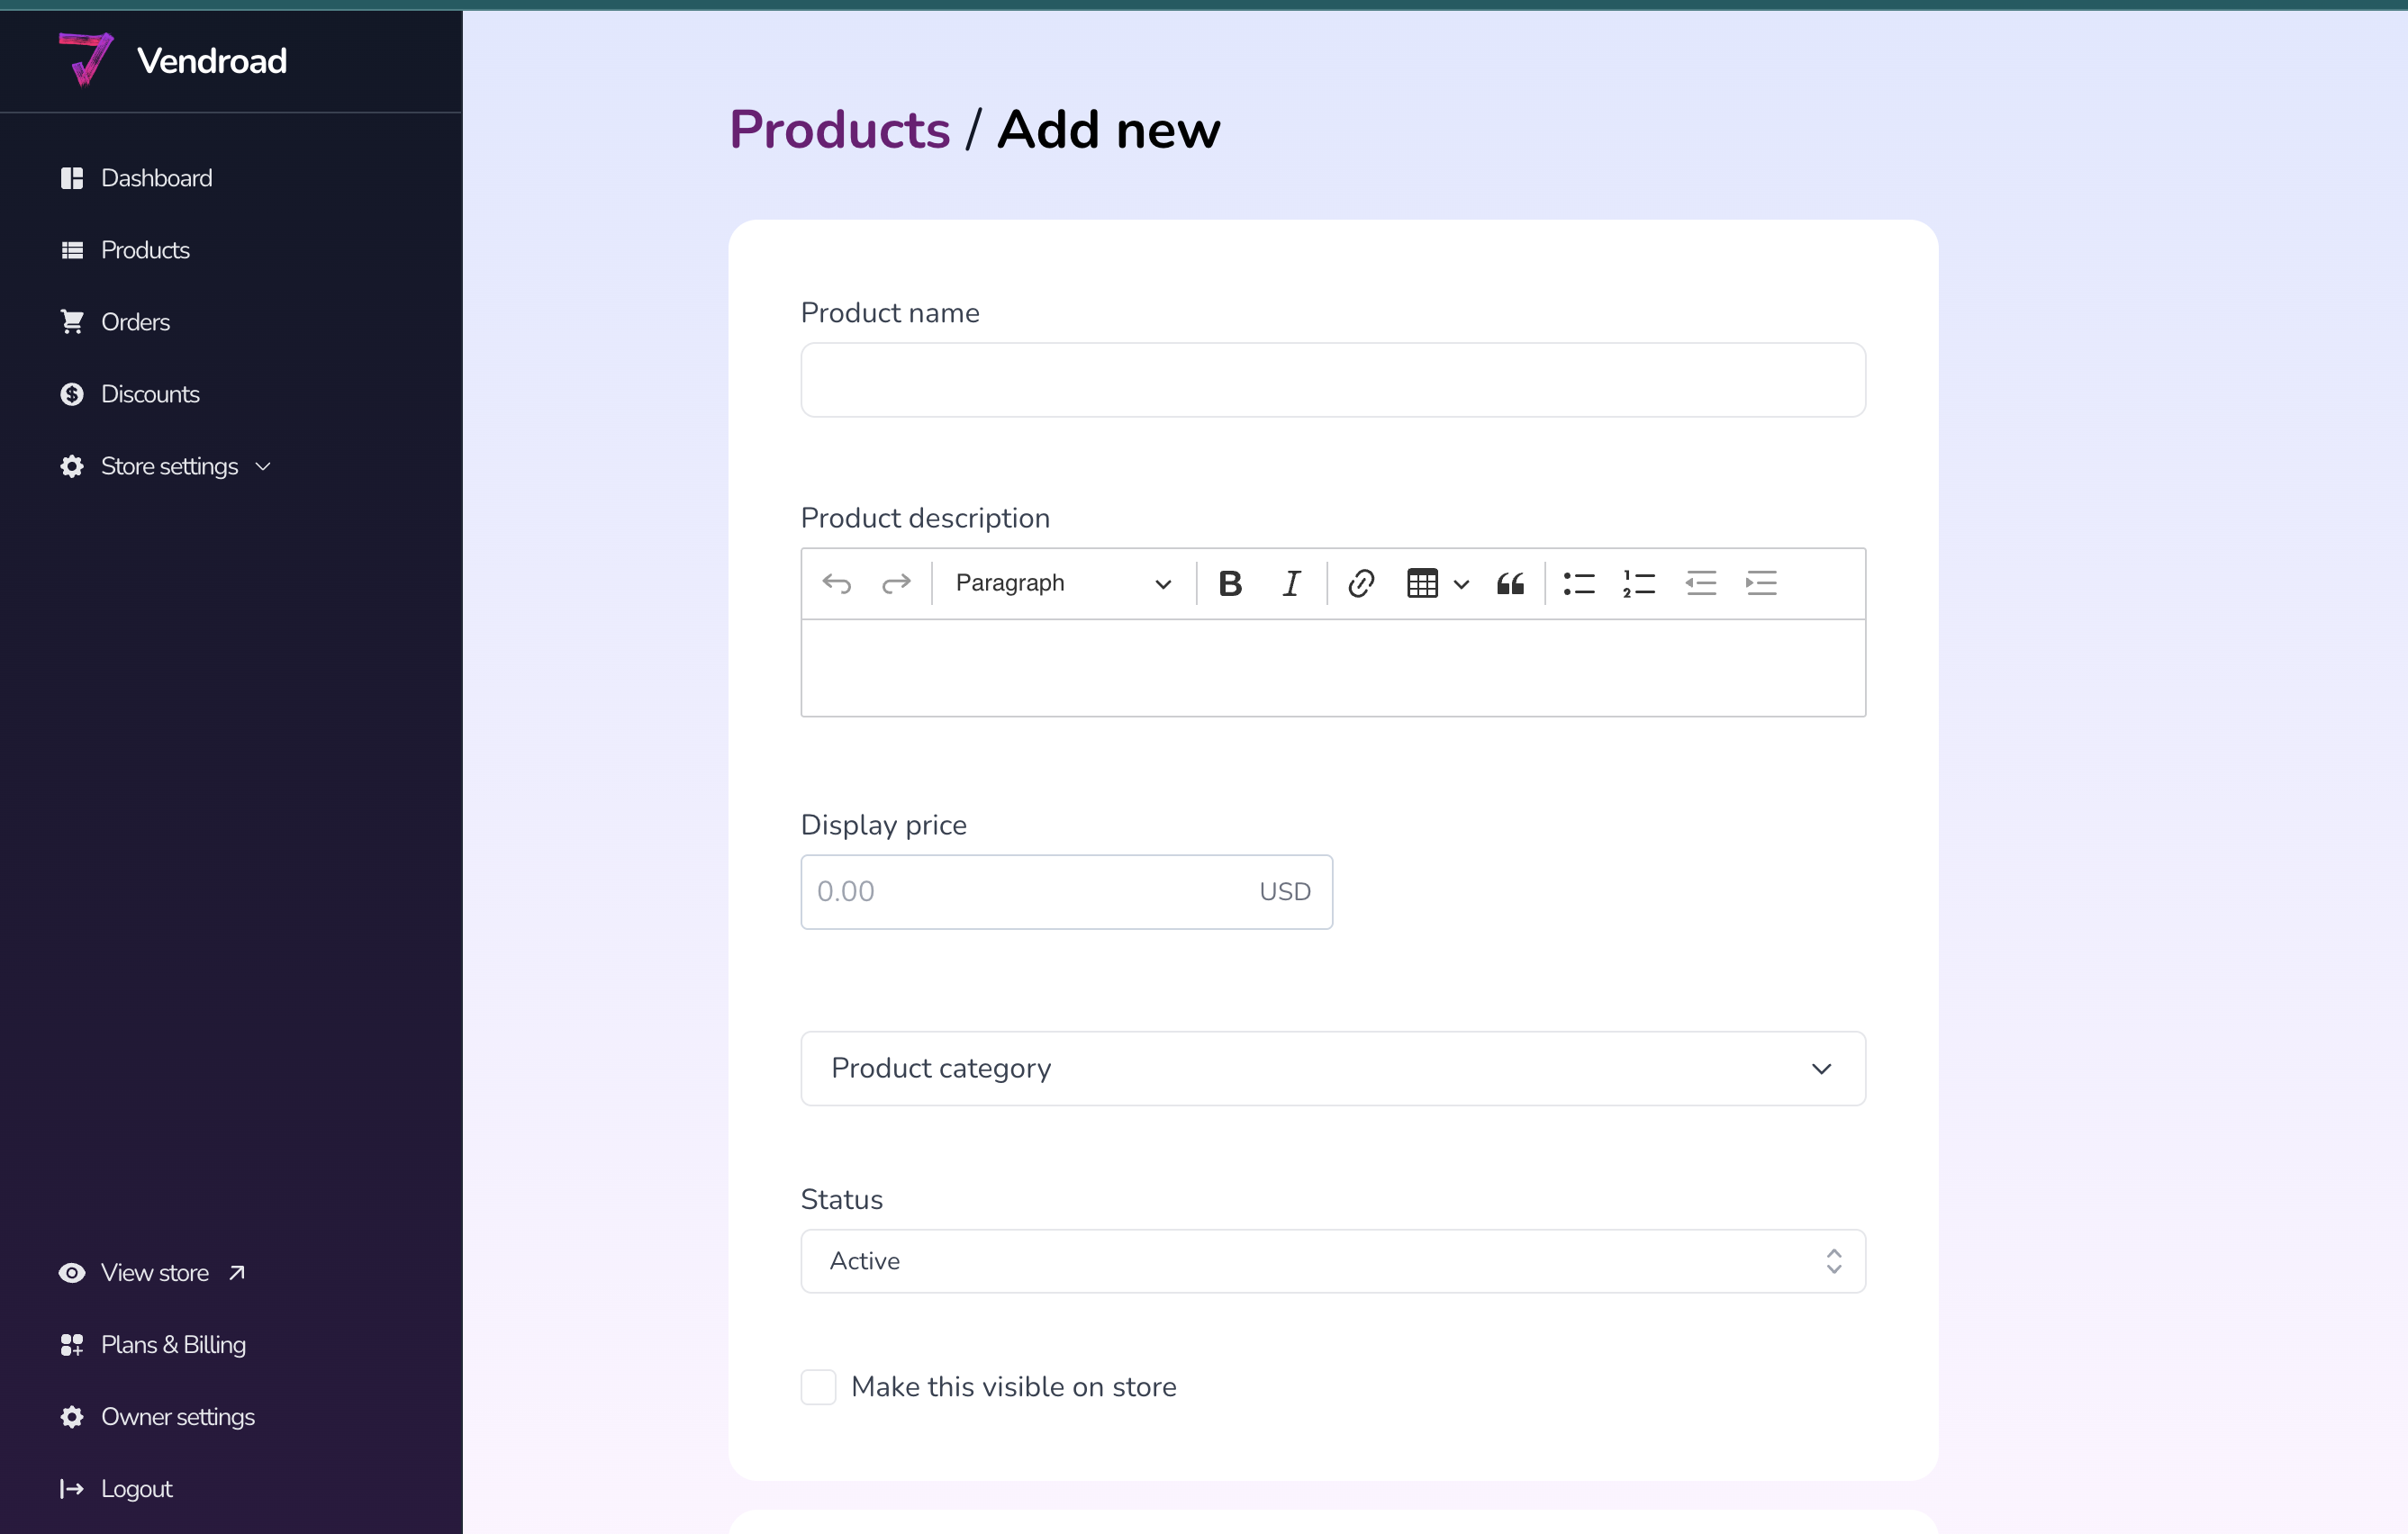
Add new product
Next you can choose to create product categories to organize your products, making it easier for customers to find on the store. e.g, Women, Men,Seasonal items etc.
Step 3 - Customize store design
Customize the look and font of your online store in 4 steps:
- Select your theme (we have themes that simulate social media, such as Instagrid, pinboard) and we have other e-commerce focused themes. Choose one that best represents your business.
- Choose a font from our list of fonts
- Add an image if your theme requires an images
- Add your brand colors.
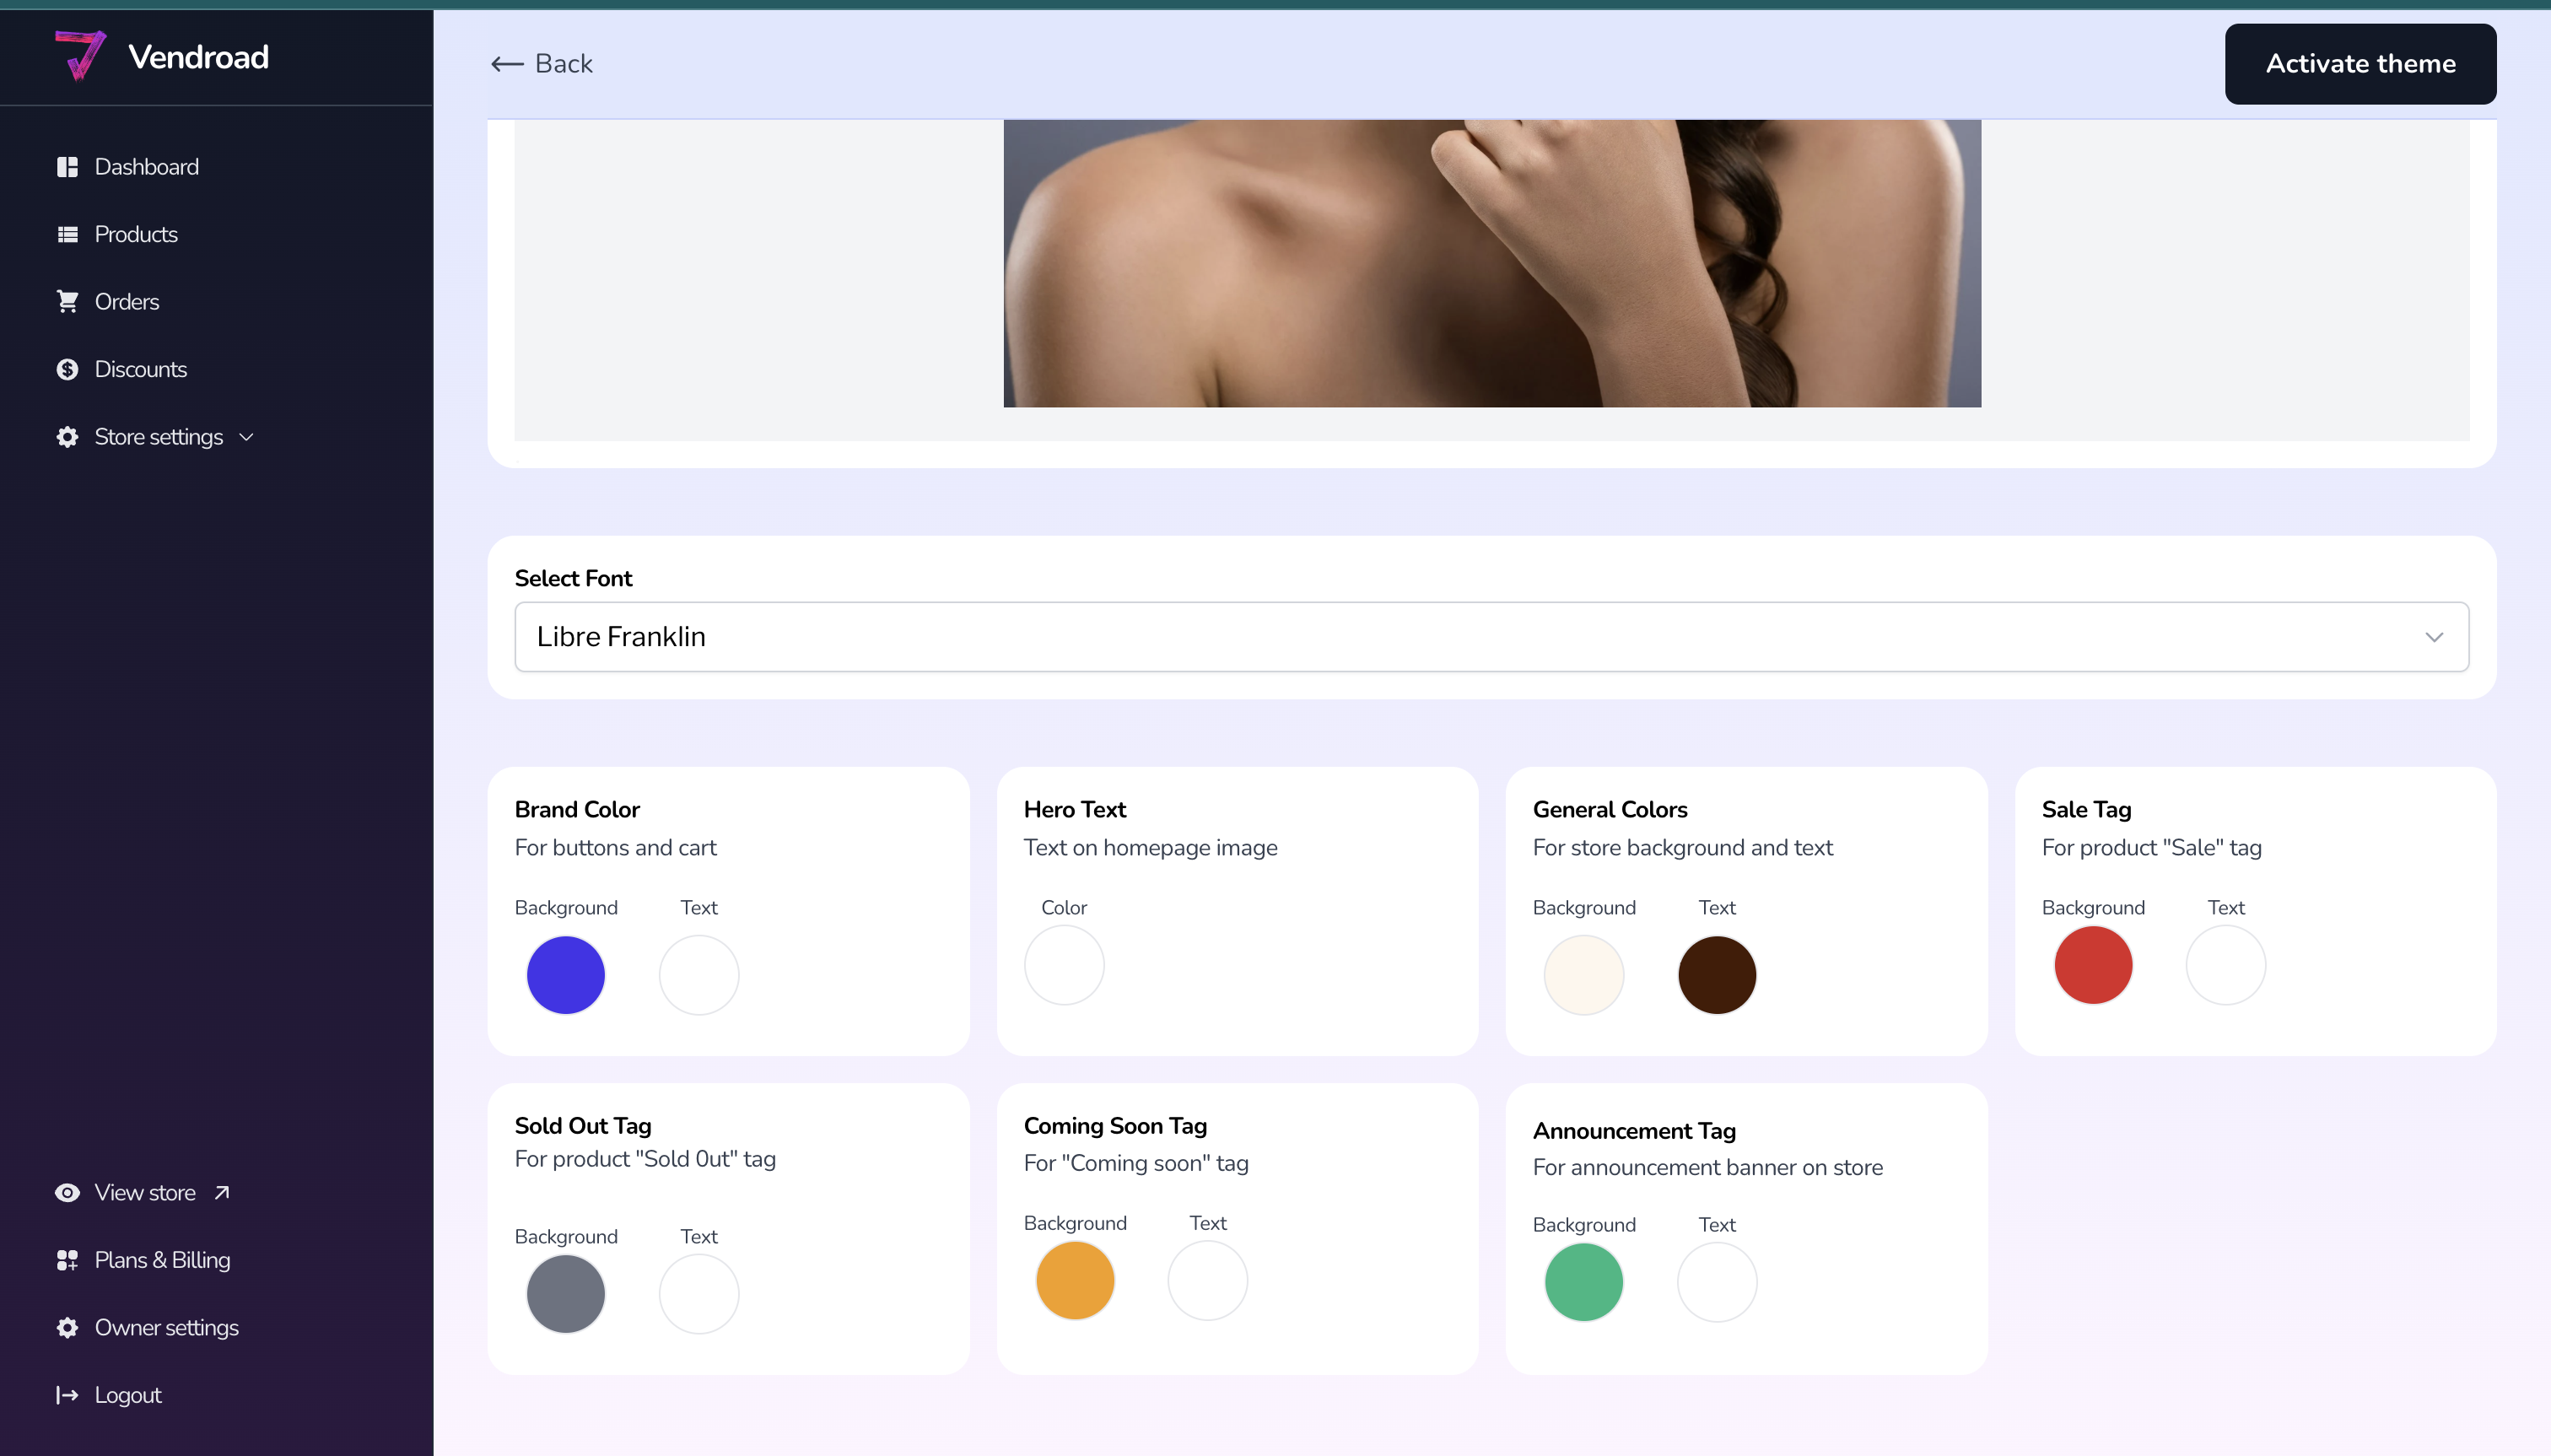
Customize look and feel
Step 4 - Setup Payment
To start accepting payment on your store:
- Select your currency
- Connect stripe to accept payment.
Stripe allows customers to pay you with in-built anti-fraud systems. If you don't have a stripe account yet, you will be prompted to create one. If you already have one, simply click "Connect" stripe, and your stripe account will be connected to your store.
Stripe will be instantly configured to your store checkout and every store payment will go directly through your Stripe account.
Note that Vendroad does not take any transaction fees, but Stripe does.
Step 5 - Setup Shipping Rates
If you sell physical products that require shipping, you have to decide how customers pay for shipping. Vendroad keeps this simple, by allowing you to set flat shipping fees.
- Decide your shipping strategy - Do you want to add shipping cost to the product and offer free shipping or do you want customers to pay for it?
- Create shipping methods that customers can select at checkout. The shipping rate will be added to the total price that customers pay for.
- Pick up - 0
- Standard - $4
- Express - $8
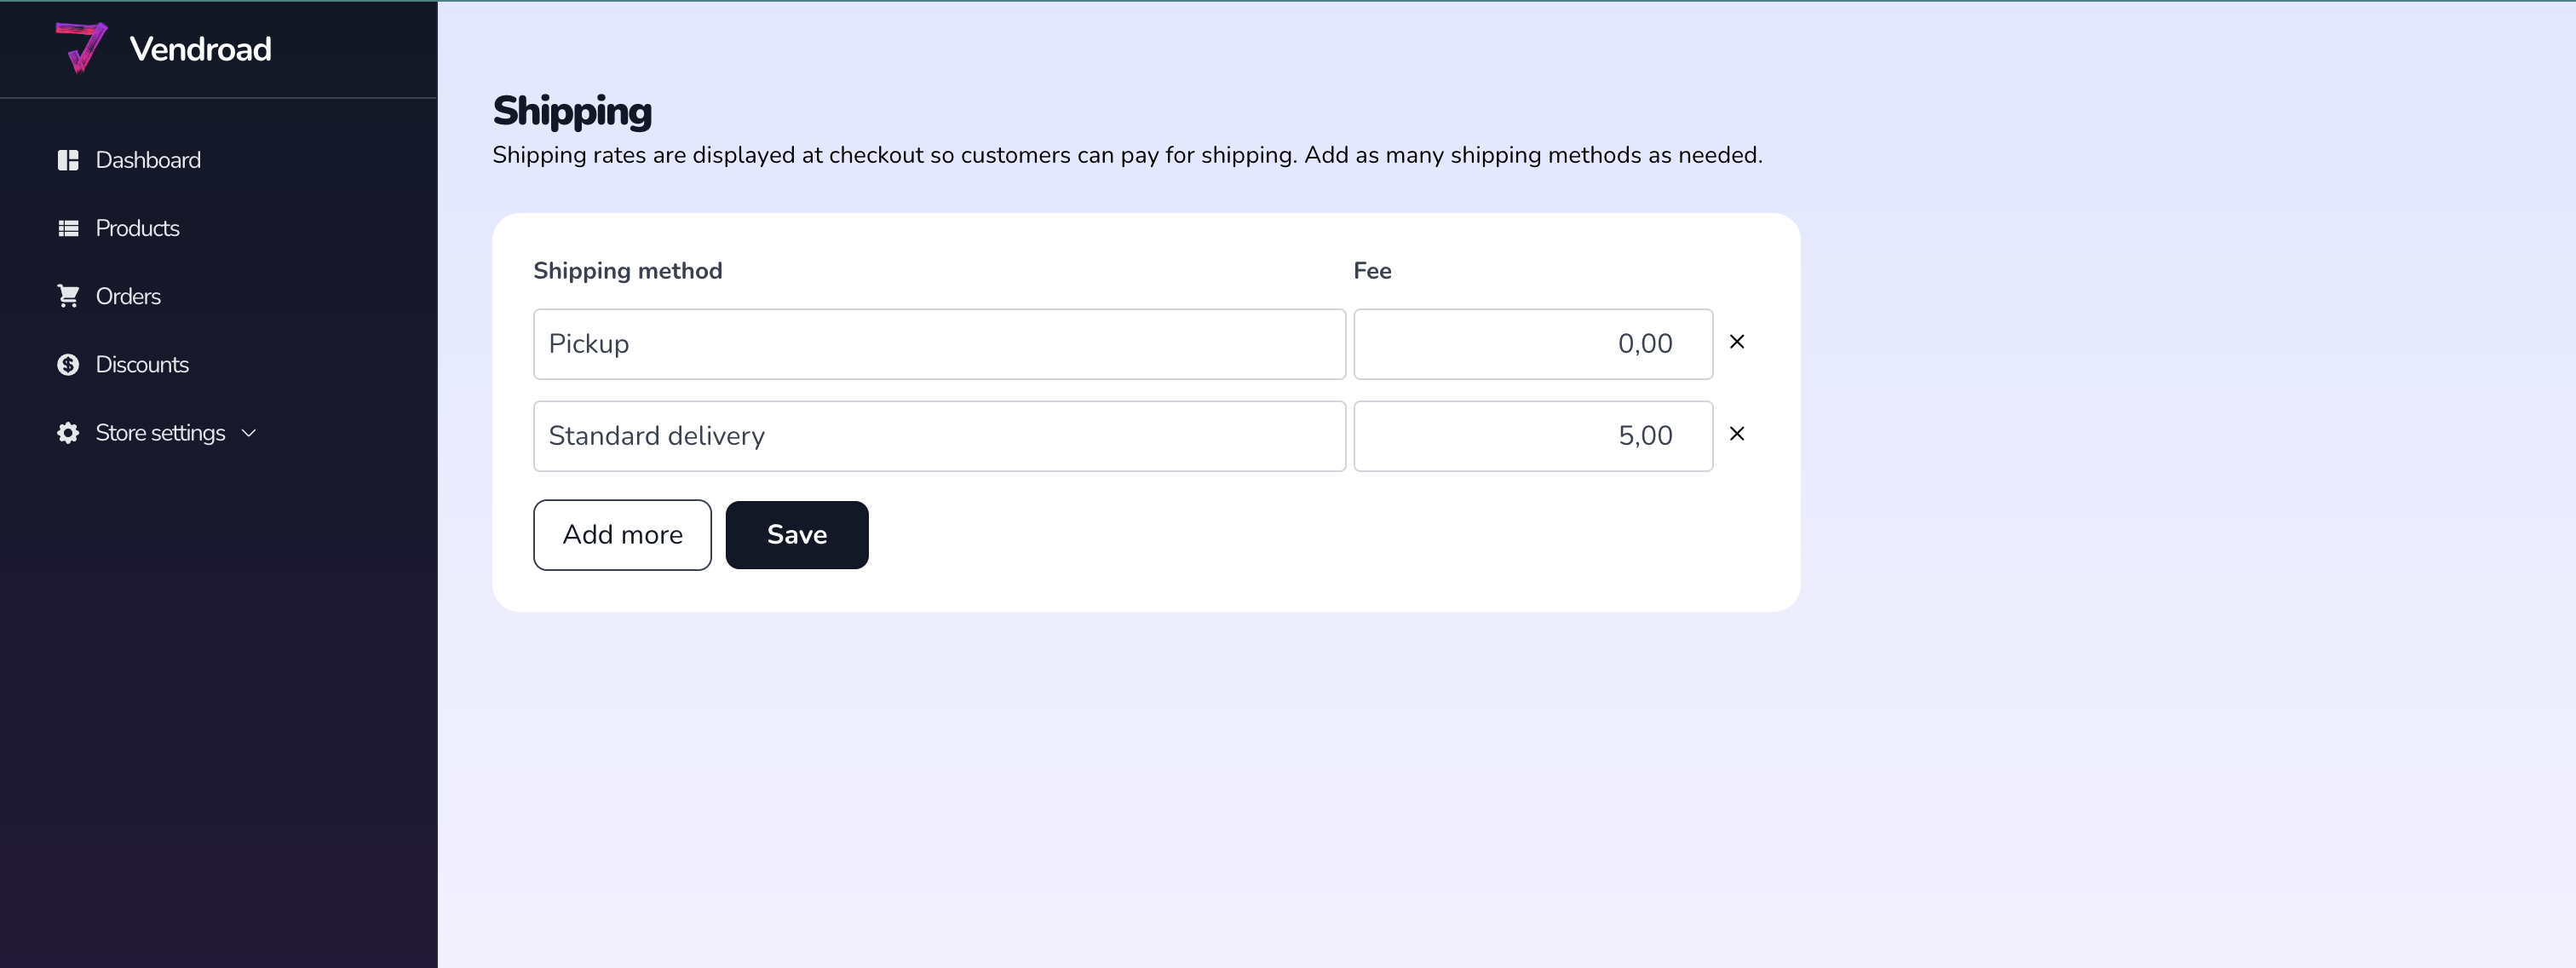
Easy shipping setup
Step 6 - Test before launching
Now that everything is setup, you need to test before launching.
- Click around your store and make sure your products appear as you intend
- Test the checkout flow by placing a few dummy orders. You can test with a low priced product like $2.
- When placing a test order, use your real email, so you can receive order notification and see how it looks like for your customers. You can also check that you as a store owner, also received an order notification email.
Step 7 - Tell everyone!
And that's it! If you're satisfied with your store, it's time to tell everyone about it. Share your store link on social media or add to your link in bio. Run ads to your store. Or share with customers when they ask for your store link.

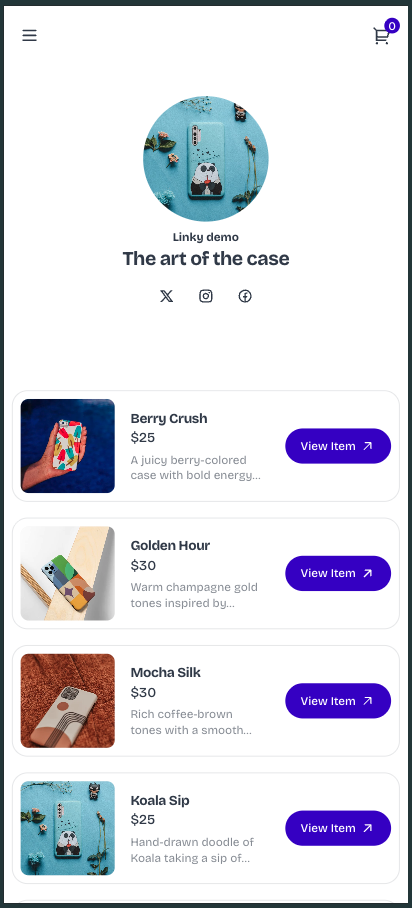
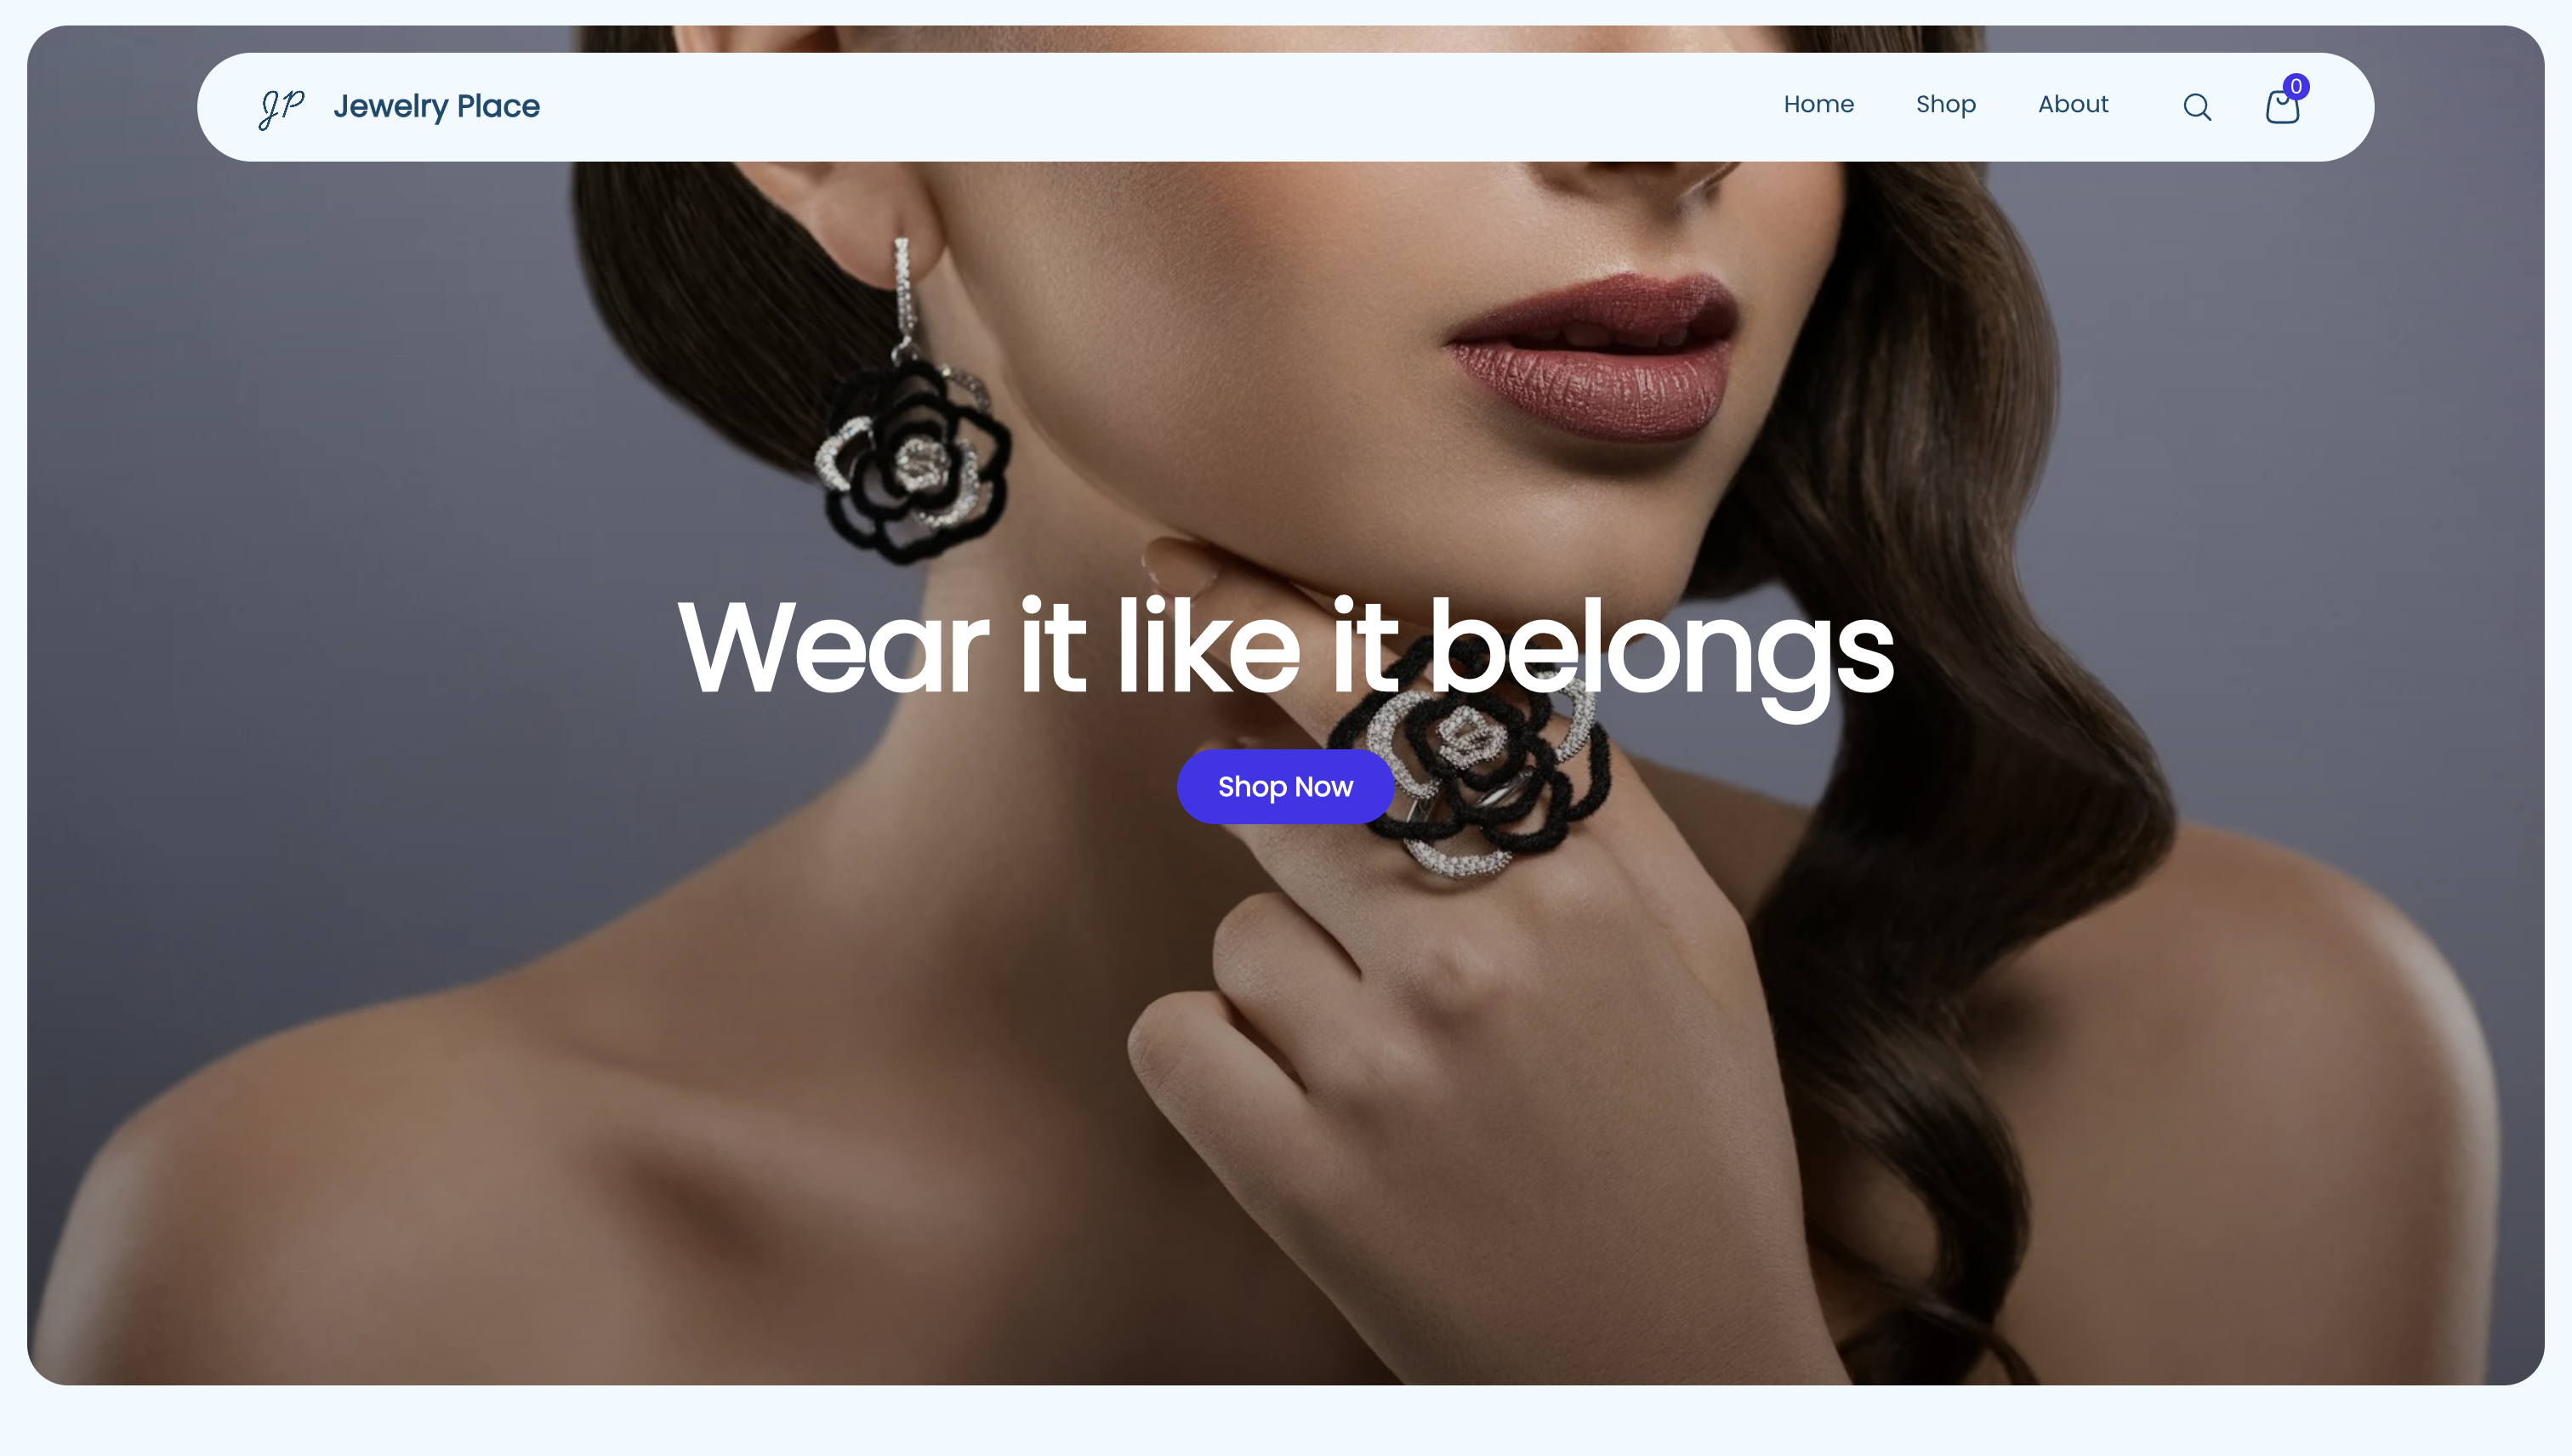
Store sample