How to connect Stripe to your online store

(A step-by-step guide to start accepting payments worldwide)
If you’re building an online store and ready to start taking payments, connecting Stripe is one of the smartest moves you can make. Stripe powers payments for millions of businesses around the world, from small startups to major brands — and integrates smoothly with most eCommerce platforms.
In this guide, you’ll learn exactly how to connect Stripe to your store, test it, and start receiving real payments in just a few steps.

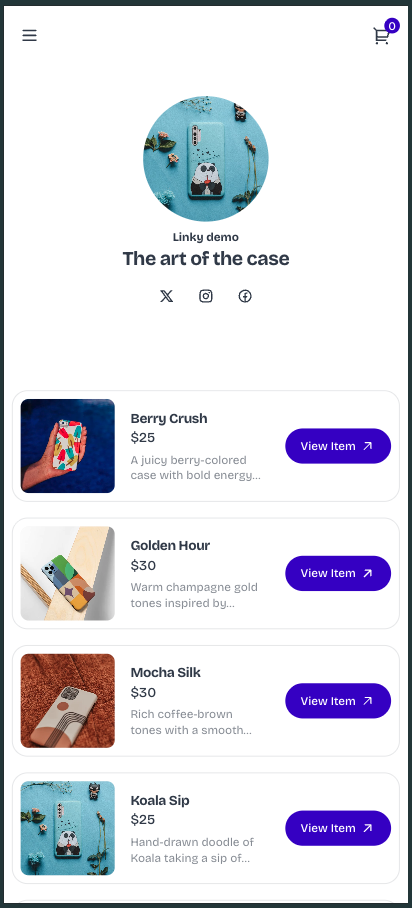
Easily accept payment with Stripe on Vendroad
Why Stripe is the best choice for online stores
Before we dive into setup, here’s why Stripe stands out among payment processors:
- Global reach: Accept payments from customers in over 100 countries.
- Multiple payment methods: Cards, Apple Pay, Google Pay, Klarna, Afterpay, SEPA, and more.
- Fast payouts: Receive funds directly to your bank account — often within days.
- Built-in fraud protection: Stripe Radar automatically detects and prevents suspicious activity.
In short: Stripe helps you look professional, reduce checkout friction, and give customers more ways to pay.
Step-by-Step: How to Connect Stripe to Your Store
1. Open your eCommerce platform’s settings
Every platform — Shopify, WooCommerce, Wix, Squarespace, Vendroad, and others — handles payment integrations a little differently, but they all have a Payment Settings section.
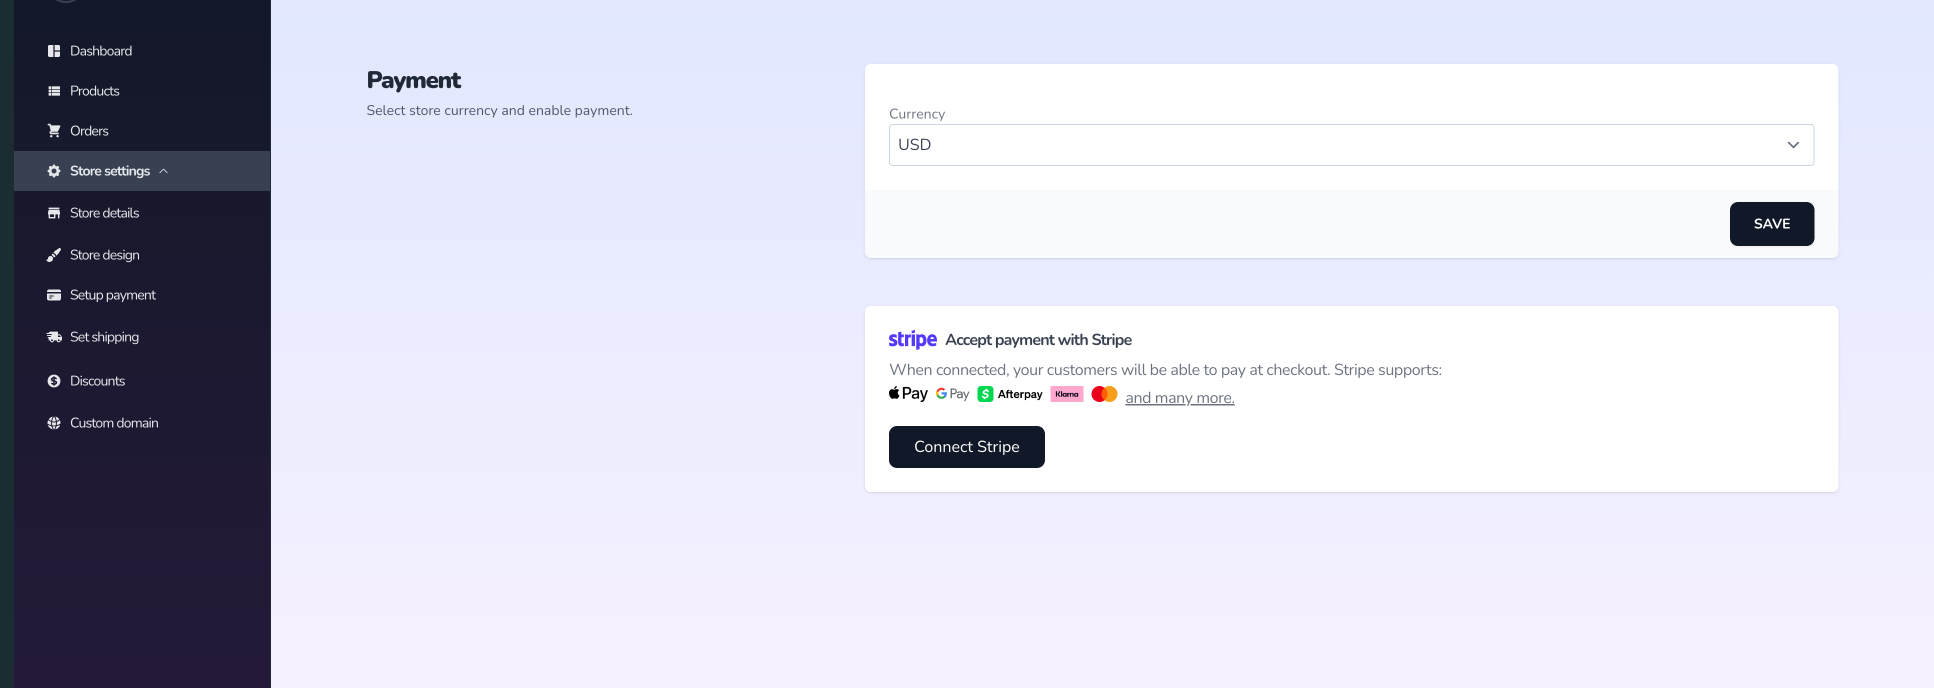
Here's how to do it on Vendroad:
Go to "Setup payment" under "store settings"
You will see an option to connect Stripe, click the button.
2. Connect Stripe to your store
- Vendroad will prompt you to log in to your Stripe account (or create one if you don’t have one already).
- You’ll need to grant Vendroad permission to link to your Stripe account (so that payments made in your store go into your Stripe account).
- Fill in any additional details requested — e.g., business name, address, bank account, tax information (depending on your region).
- Confirm and connect.
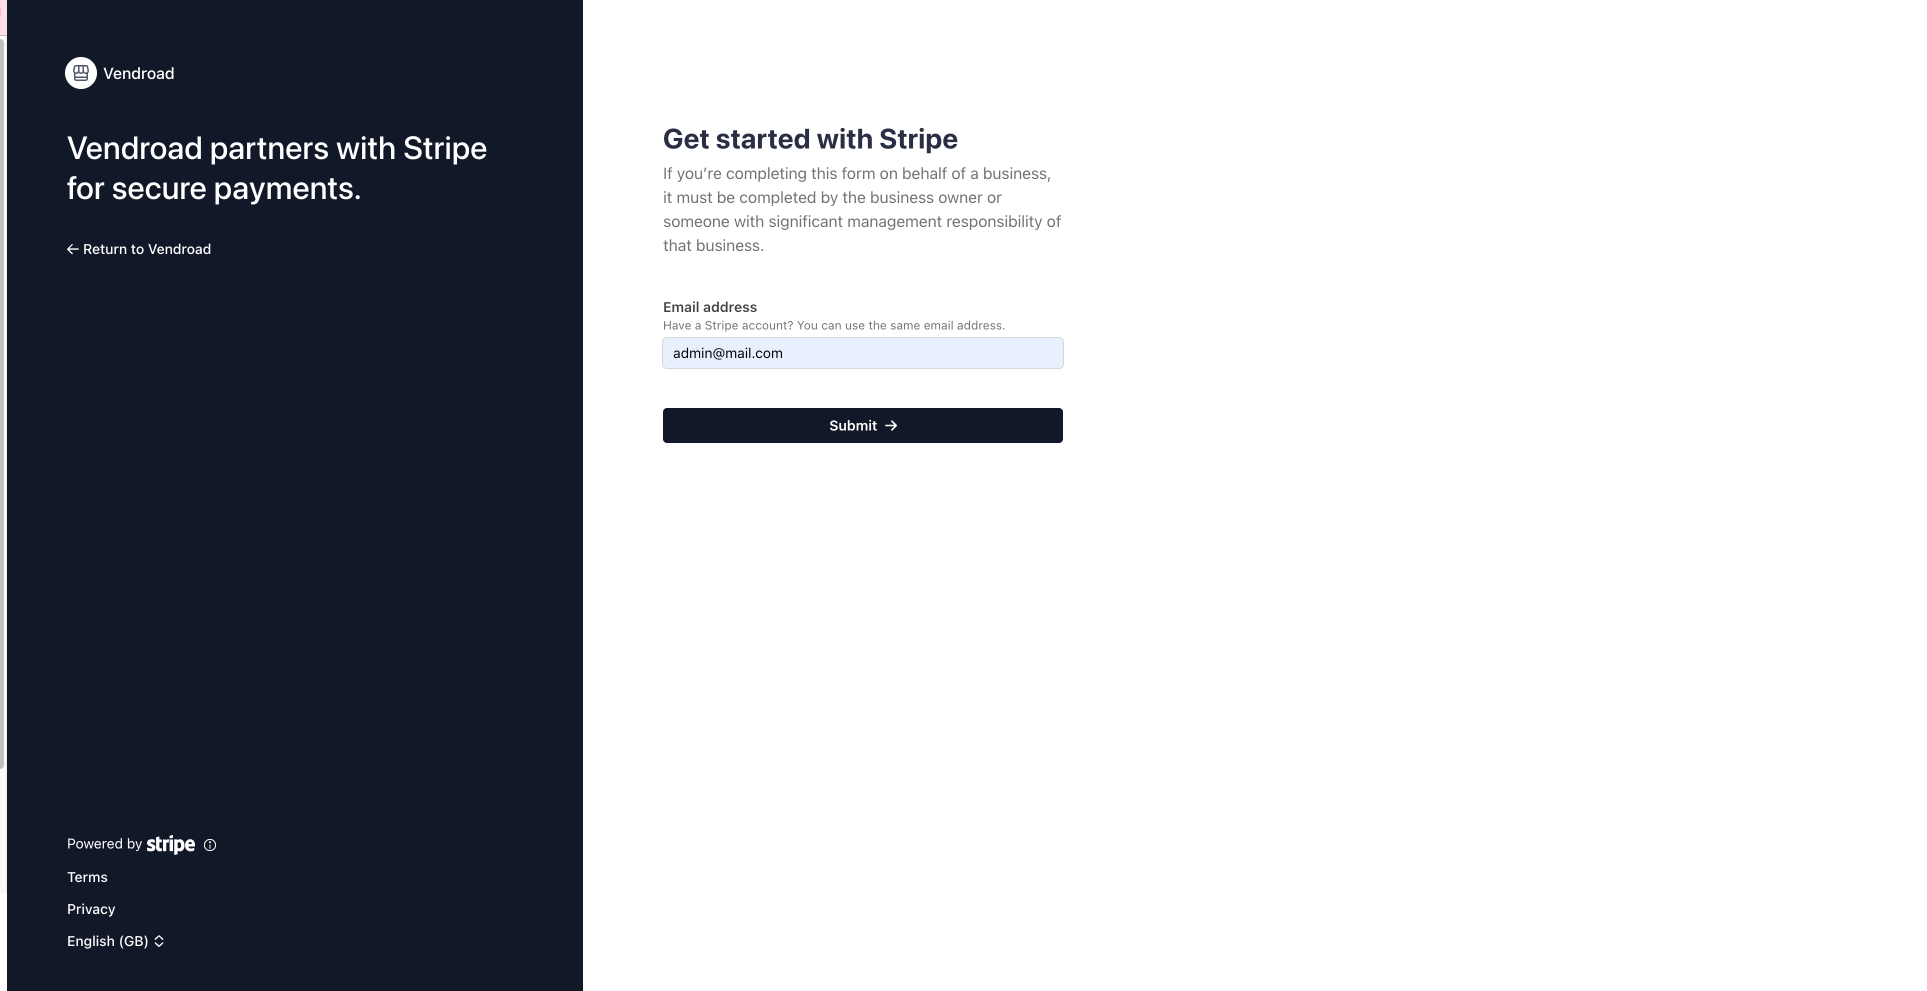
You'll be able to login directly to your stripe account or signup
Once you’ve confirmed the connection, you’ll be sent back to Vendroad and the integration should be live.
3. Configure your payment settings
On Stripe, decide which payment methods to enable. Depending on your country, you might be able to activate:
- Credit & debit cards
- Apple Pay / Google Pay
- Local payment options (like SEPA, iDEAL, Bancontact, etc.)
- Buy Now, Pay Later options (like Klarna or Afterpay)
Also check your store currency, tax settings, and whether you want to automatically capture payments or manually authorize them.
4. Test the payment flow
Before going fully live, always test:
- Create a low-value product (for example $2 or so) in Vendroad.
- Place a test order through your store’s checkout, using a real card.
- After checkout, log in to your Stripe dashboard and verify that the payment shows up.
- Verify that the status of the order in Vendroad is correct (i.e., paid) and that you’re set to fulfil it.
- Make note of how long the first payout will take (Stripe often has a delay for new accounts) and verify the bank account is connected correctly.
If everything looks good, delete the test product and you're set.
6. Go live and start selling
Once your test payments work, you’re ready to go live!
Announce that your store now accepts secure payments via Stripe.
Tips for going live:
- Update your store policies and refund page.
- Keep your eyes glued for order notifications - email notifications is automatically enabled on Vendroad, so no worries there!
- Keep an eye on your first payout (it may take up to 7 days).
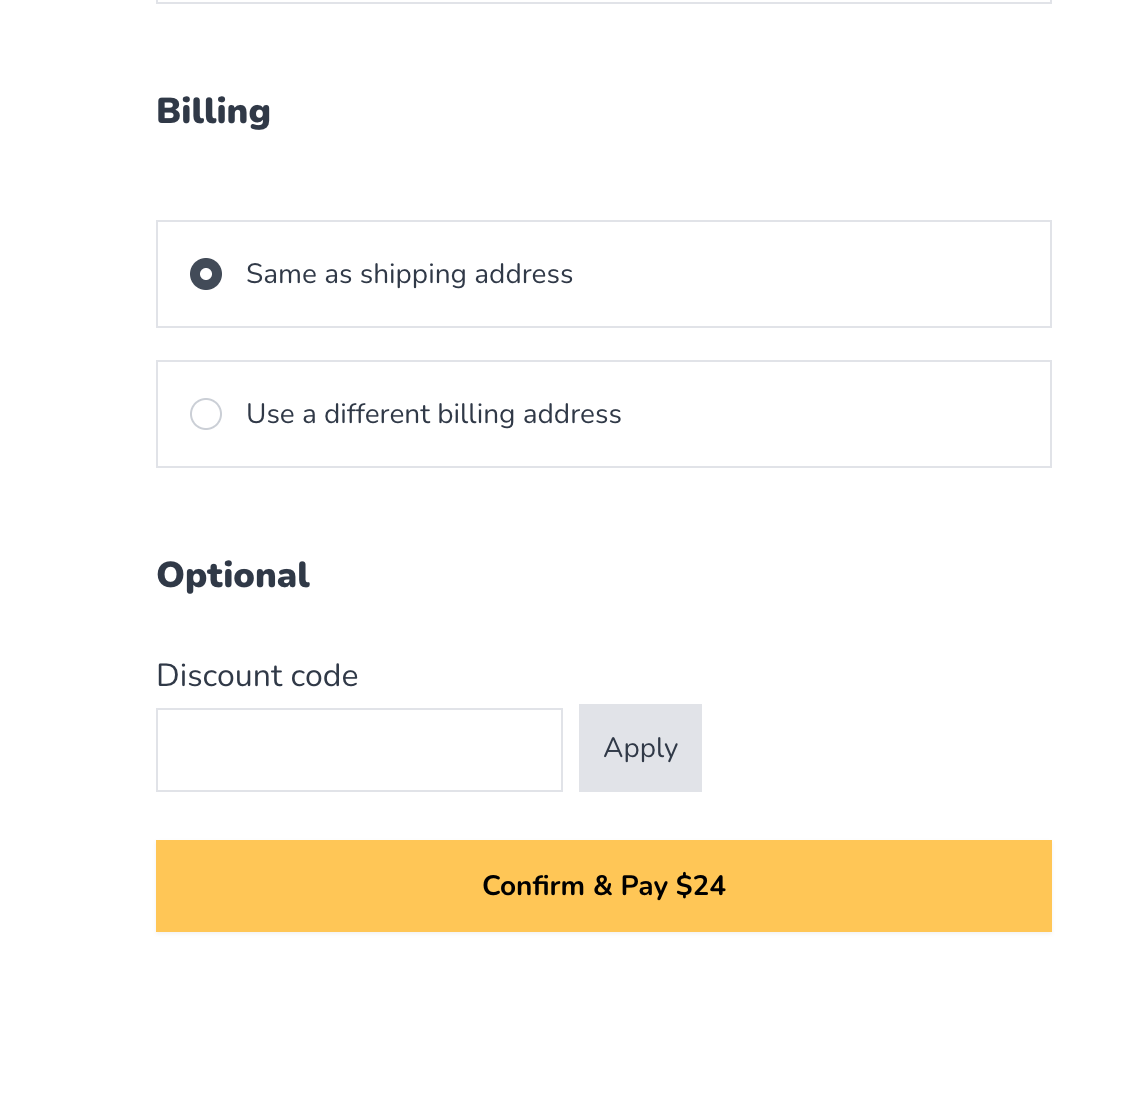
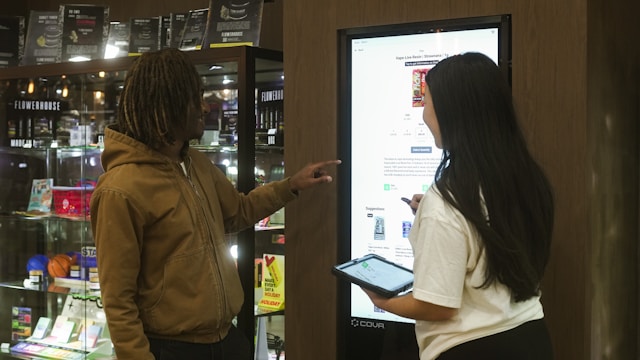
Test payment at checkout
Pro Tips for Smooth Payment Processing
- Match currencies: Ensure your store’s currency matches your Stripe account currency to avoid conversion fees.
- Enable automatic payouts: Keep cash flow consistent by letting Stripe send funds to your bank automatically.
- Monitor analytics: Stripe’s dashboard gives insights on sales volume, refund rates, and customer behavior — use this data to refine your store strategy.
Quick checklist you can copy/paste
✅ Log in to your Vendroad store → Store Settings → Setup Payment
✅ Select Stripe as payment gateway
✅ Connect Stripe: log in & grant permissions
✅ Configure payment methods (cards, Apple/Google Pay, etc)
✅ Set your store currency & bank payout settings in Stripe
✅ Create a test product in Vendroad
✅ Place a test order in your store
✅ Verify payment appears in Stripe dashboard
✅ Verify order appears in Vendroad as “paid”
✅ Remove test product
✅ Announce new payment option to customers
✅ Monitor live payments, payouts, and conversions