How to choose and customize store templates on Vendroad
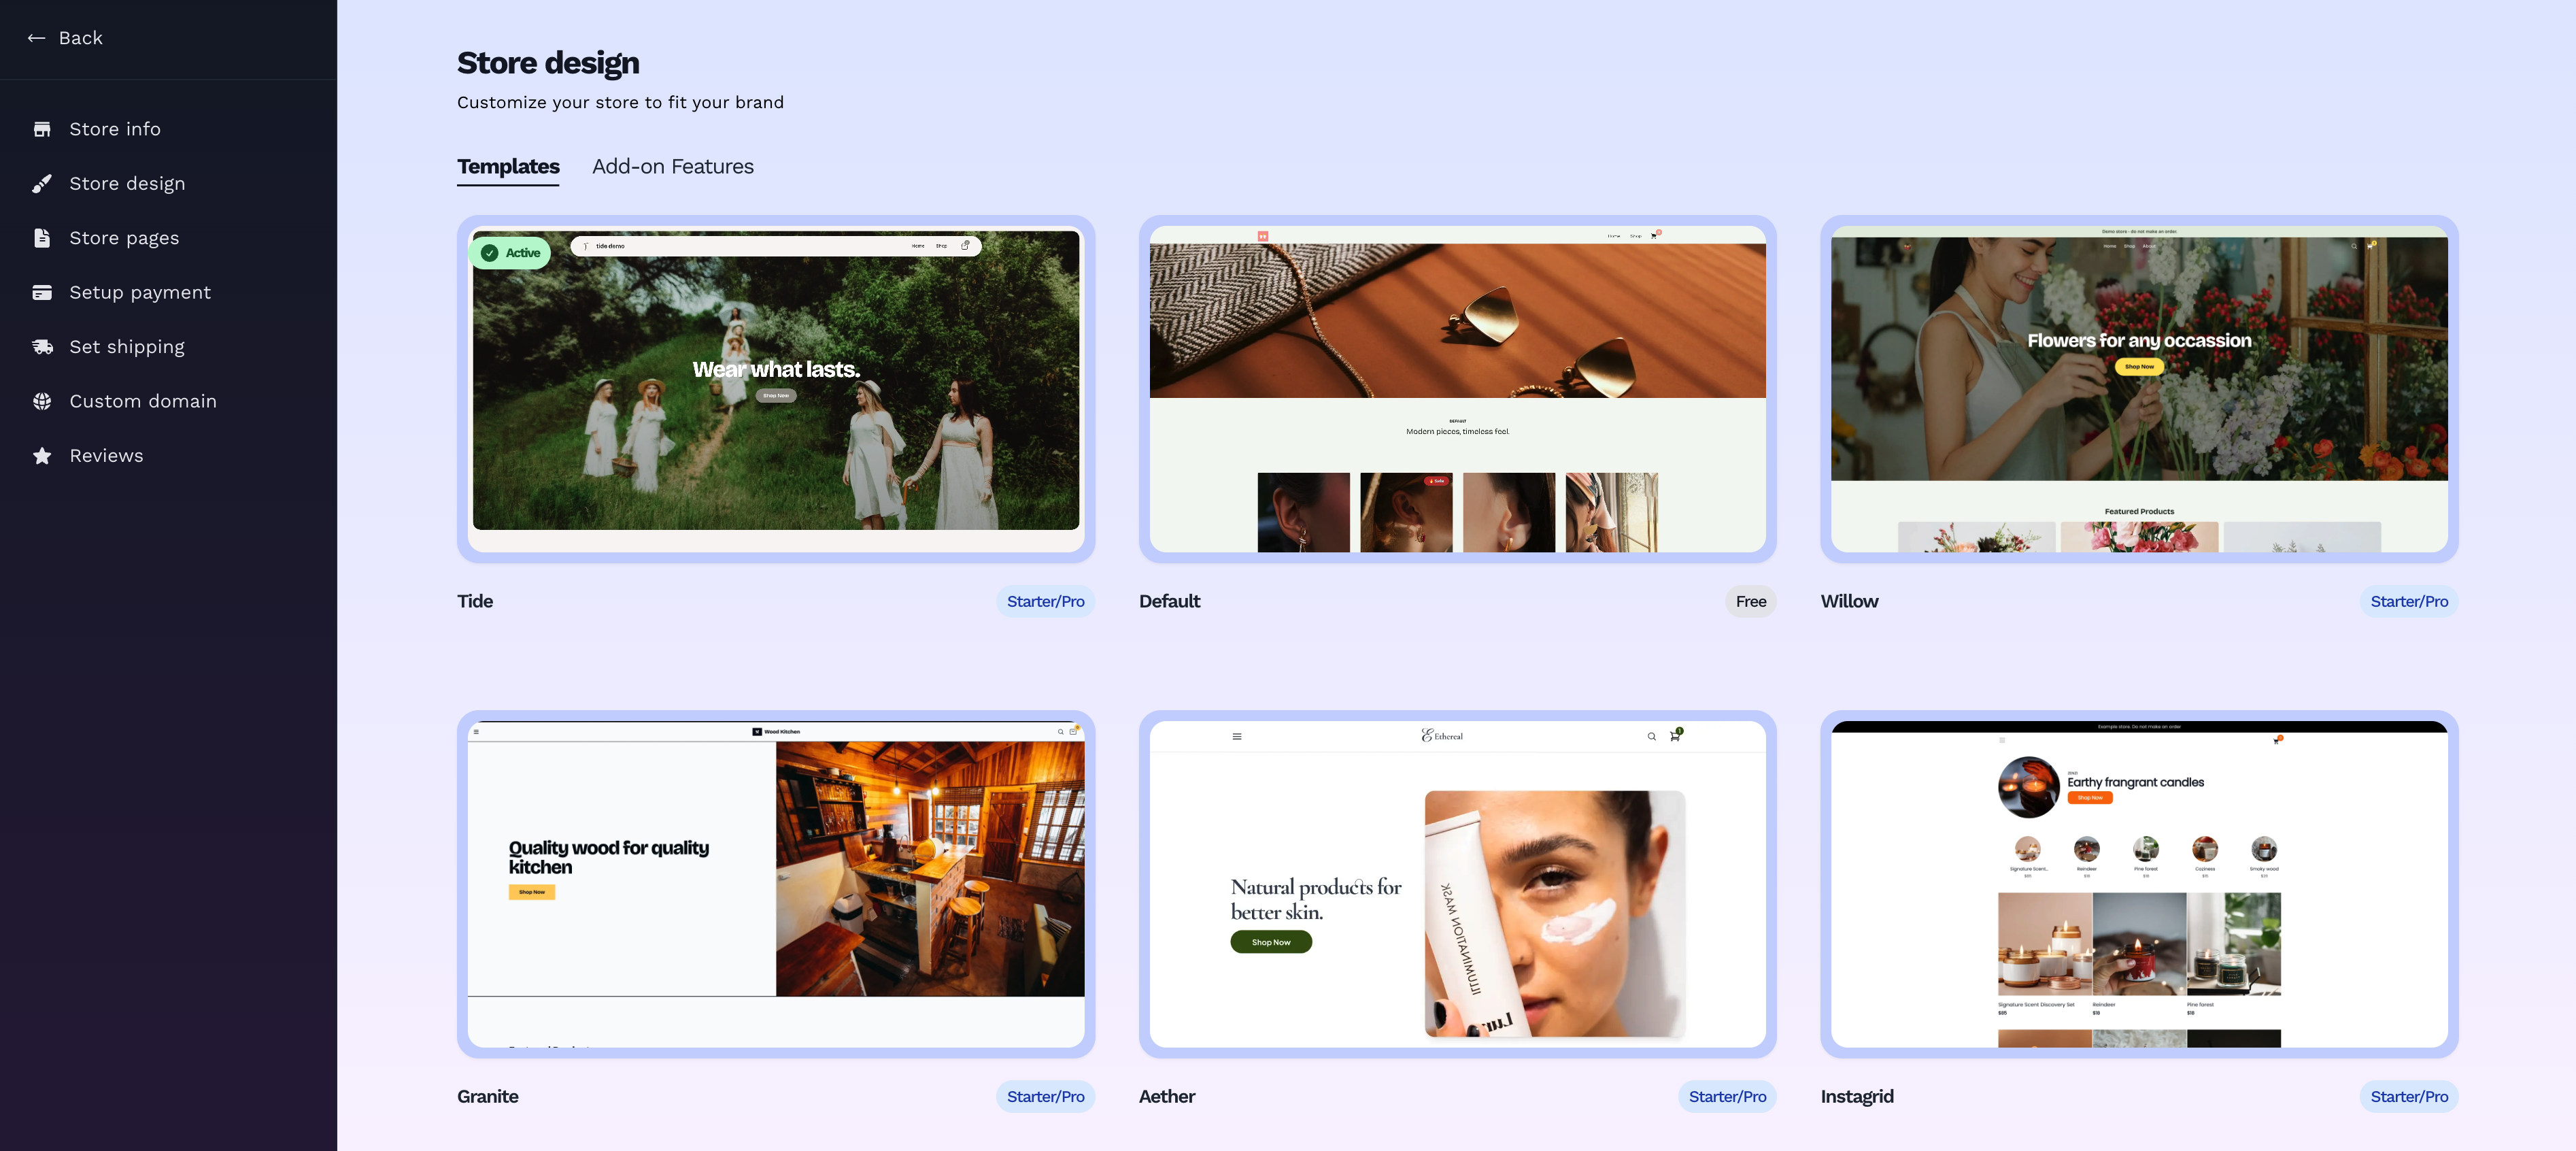
Your template controls how your storefront looks to customers: layout, colors, fonts, and images. Vendroad has several ecommerce website templates you can switch between anytime, and each one can be customized to match your brand.
Step 1: Open Store Design
1. From your dashboard, go to Store settings > Store design.
2. Make sure you're on the Templates tab (the other tab, Add-on Features, is for things like search, sort, and chat widgets, not templates).
You'll see a grid of templates, each with a thumbnail preview. Your current template shows an Active badge. Default is free; every other template (Willow, Granite, Aether, Instagrid, Gallery, Foodie, Foodie2, Linea, Slate, Tide, Sage, Linky) is labeled Starter/Pro and requires a paid plan.
Step 2: Preview & activate a template
Click any template's thumbnail to open its customization page. Click activate to be able to try it out. This doesn't make the changes live on your store yet; you're just looking at it and can style it before going live.

Click "activate" to try out a template
Step 3: Customize it
On the template page, you can adjust:
- Background image: click Select File (or drag and drop) to upload a cover image. This is not available for themes such as Instagrid, Sage, Linea, or Gallery. Vendroad will tell you the recommended orientation (Horizontal or Square, depending on the template) and recommends keeping the file under 500KB so your store loads fast.
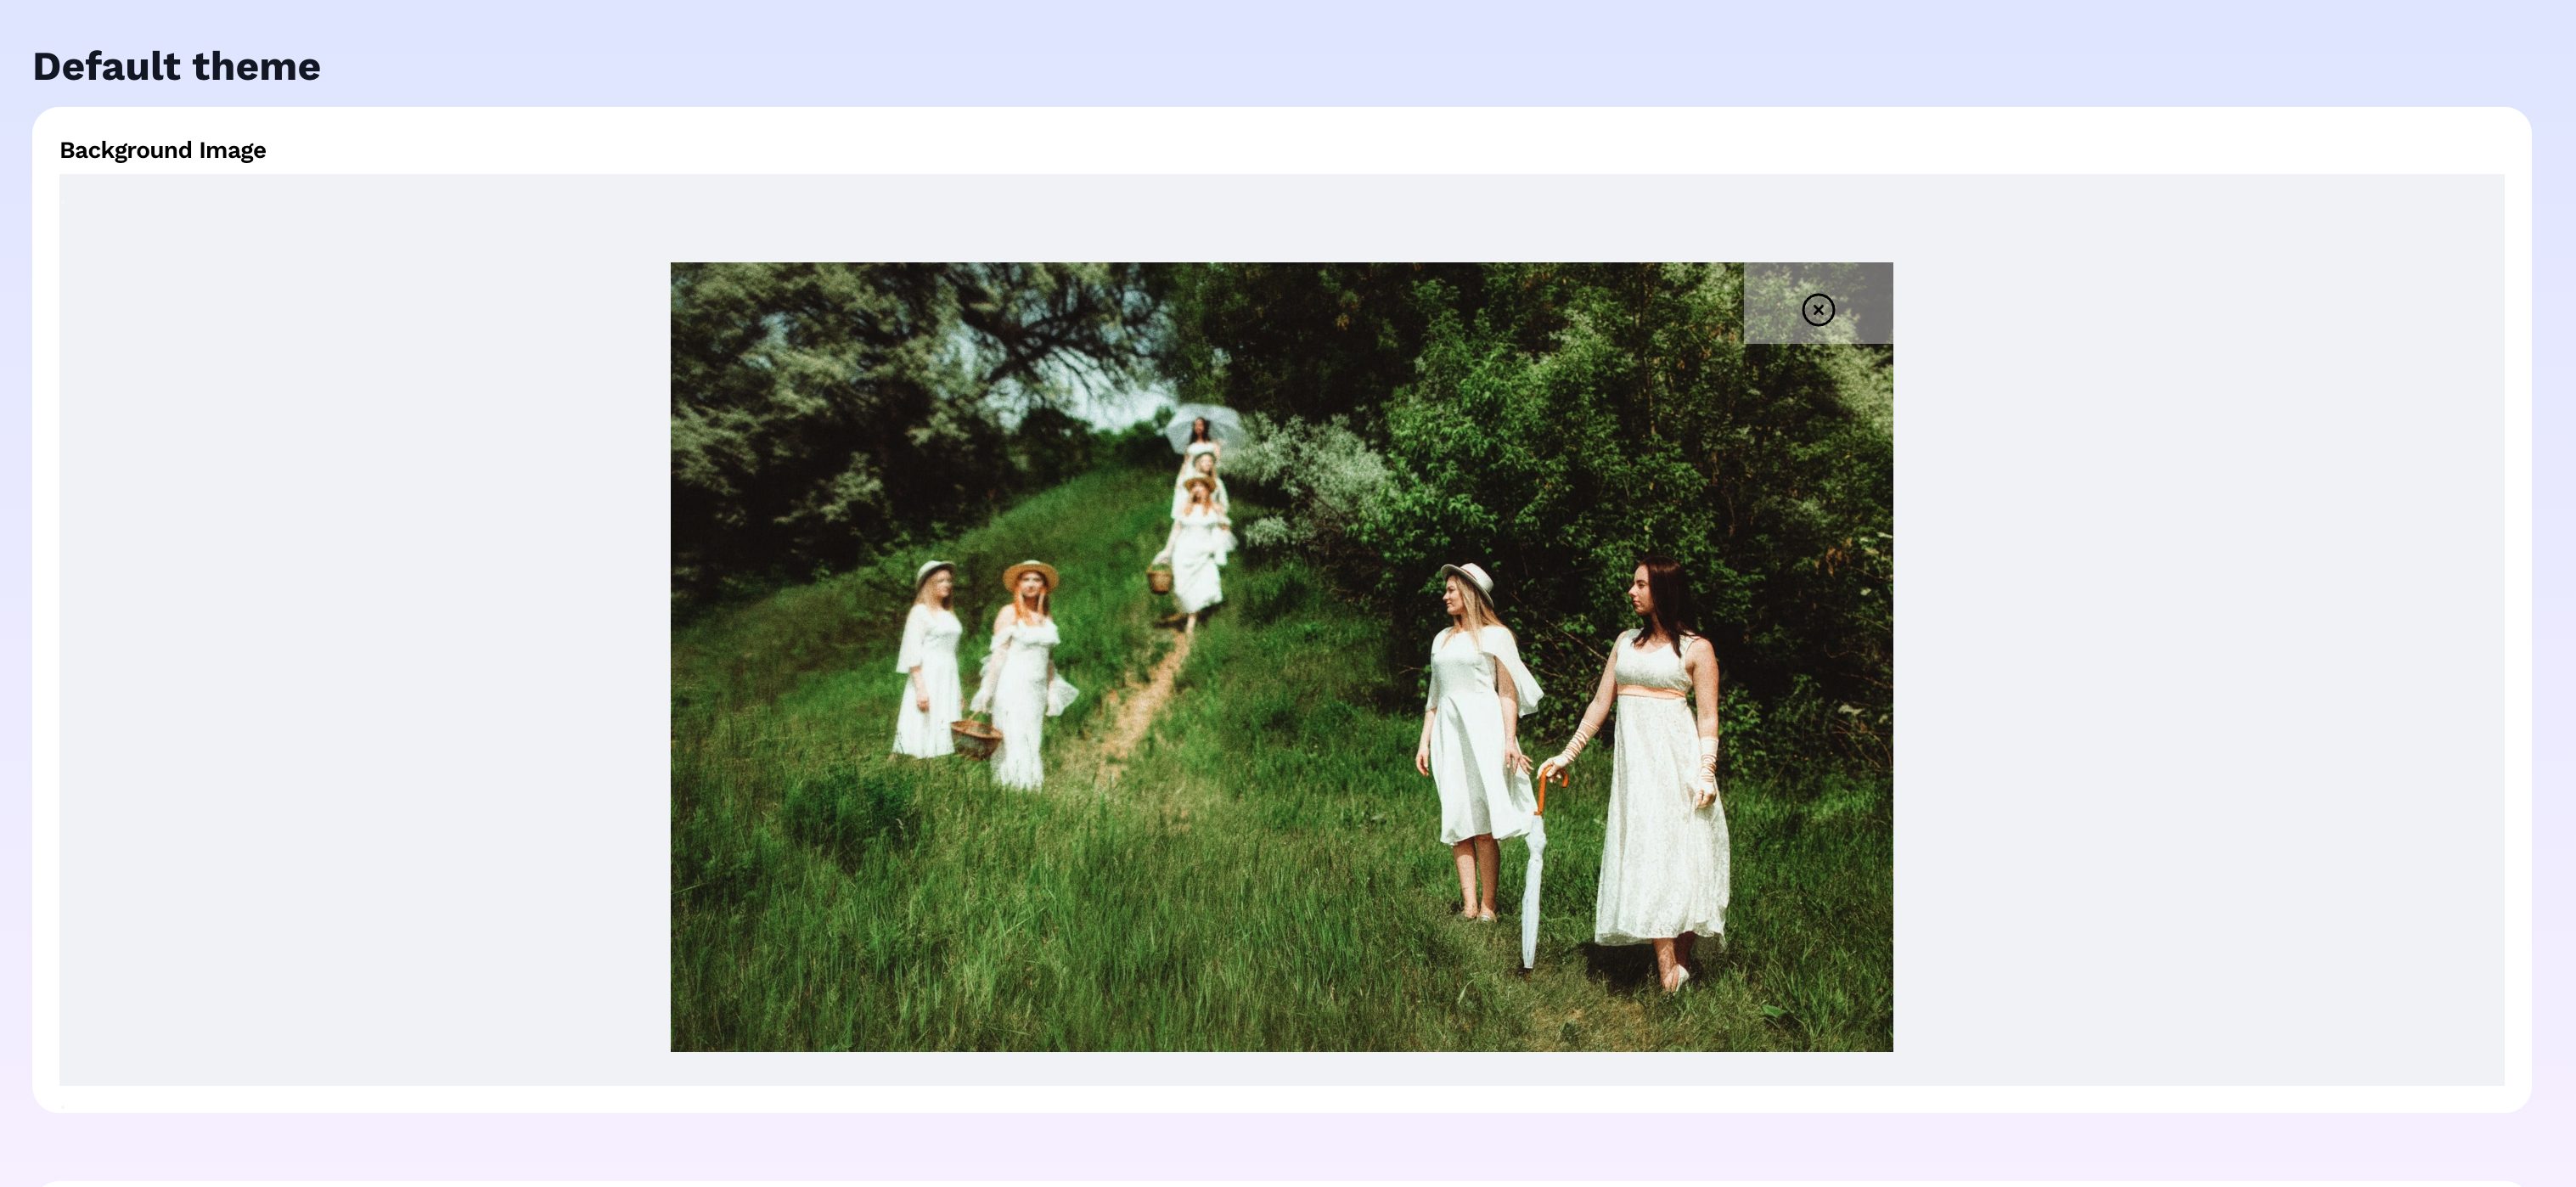
how to add background image
- Select Font: pick from the font dropdown; each option previews in its own typeface.
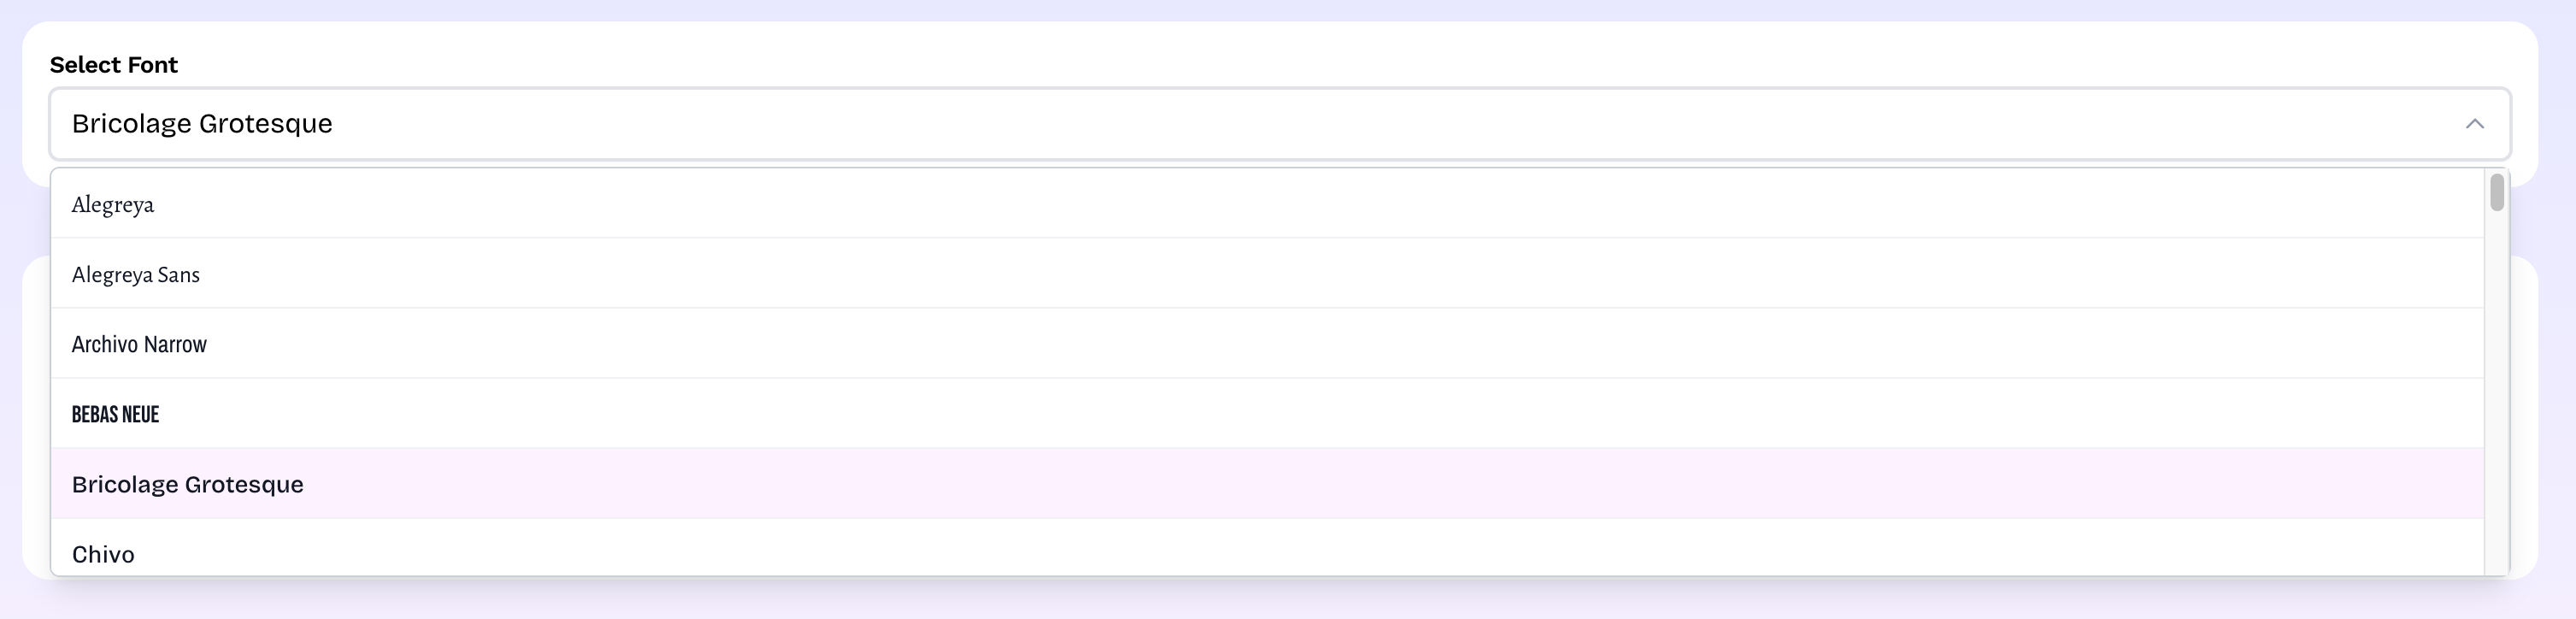
How to select font
- Quick Color Palettes: Some themes such as the default theme allows you to choose a preset color scheme with one click. This is the fastest way to get a cohesive look.

How to choose a color preset
- Customize Colors: for finer control, set individual colors yourself: Brand Color (buttons and cart), General Colors (store background/text), Sale Tag, Sold Out Tag, Pre-order Tag, and Announcement Banner. (Willow, Tide, and Slate also let you set the Hero Text color shown over the homepage image.)
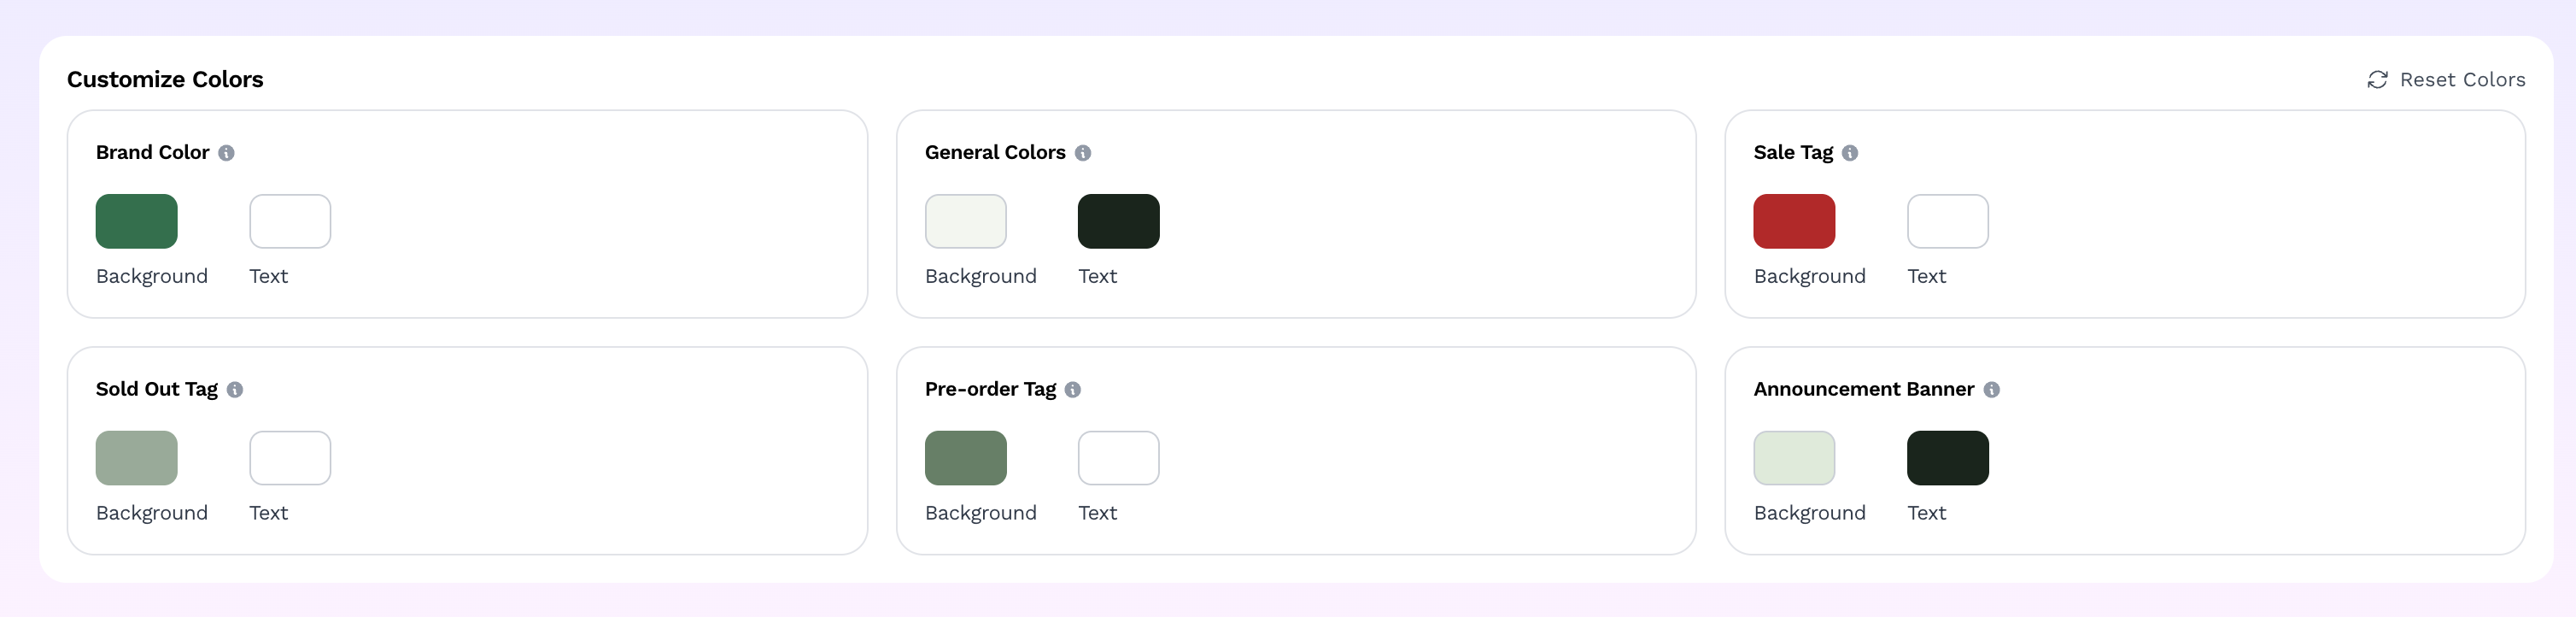
Customize color for buttons, background, tags
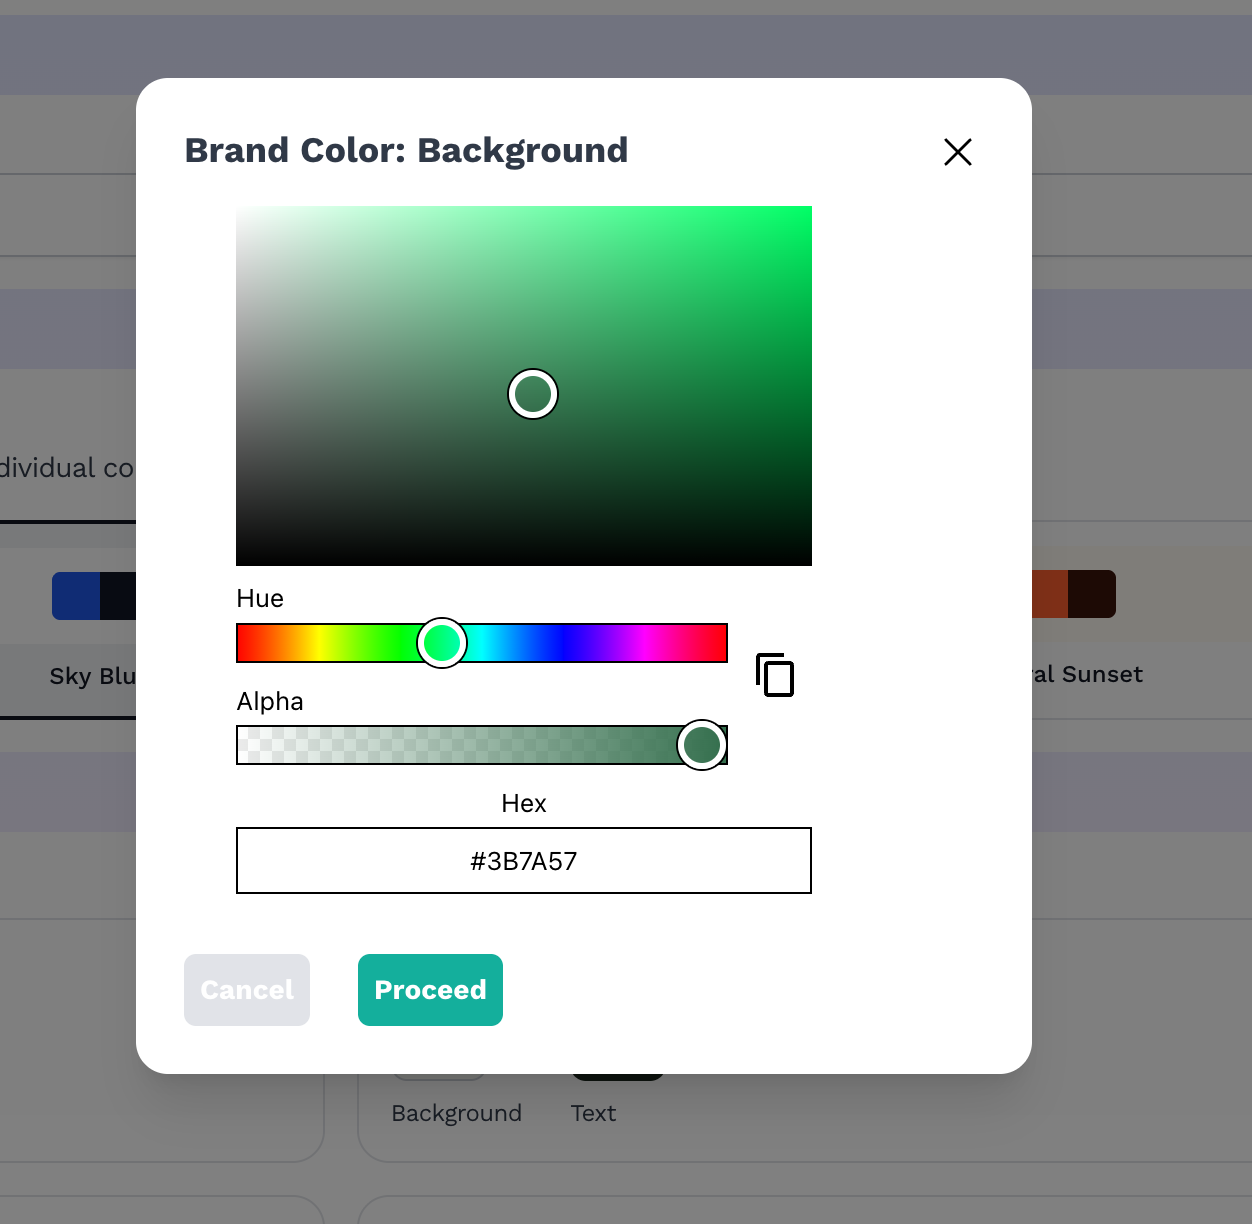
- Reset Colors: If you don't like the colors you've explored, click this. It undoes your color customizations and reverts to the template's defaults.
Step 4: Preview your changes
Click Preview store to open your storefront in a new tab with your unpublished changes applied, so you can check everything before customers see it. (Only available once this is your active template.)
Step 5: Publish changes
- Once you're happy with your changes, click Publish Changes to push them live. This button only appears when you have unsaved edits.

Easily preview and publish changes
Notes
- Switching between templates doesn't lose your work. Vendroad remembers your customizations for each template separately, so you can switch back and forth without redoing your colors and fonts.
- Changes you make aren't visible to customers until you hit Activate theme or Publish Changes — feel free to experiment!