How to Choose Your Store's URL: storename.vendry.store vs a Custom Domain
Every Vendroad store gets a free web address the moment you create it. If you'd rather use your own domain name, you can connect one — but that requires a paid plan. Here's how both work.
Your default address: yourstorename.vendry.store

default store link
When you set up your store, you chose a Store URL under Store settings > Store info > Store url. You can change it anytime from that same field.
This web address works out of the box, on any plan, and always points to your live storefront — no setup required.
Connecting a custom domain (e.g. www.yourbrand.com)
This requires an active paid subscription. If you're on the free plan, upgrade first from Upgrade plan in the sidebar.
Step 1: Add your domain
- Go to Store settings > Custom domain.
- Click Add Domain.
- Enter your domain without http:// or https:// e.g. www.yourbrand.com.
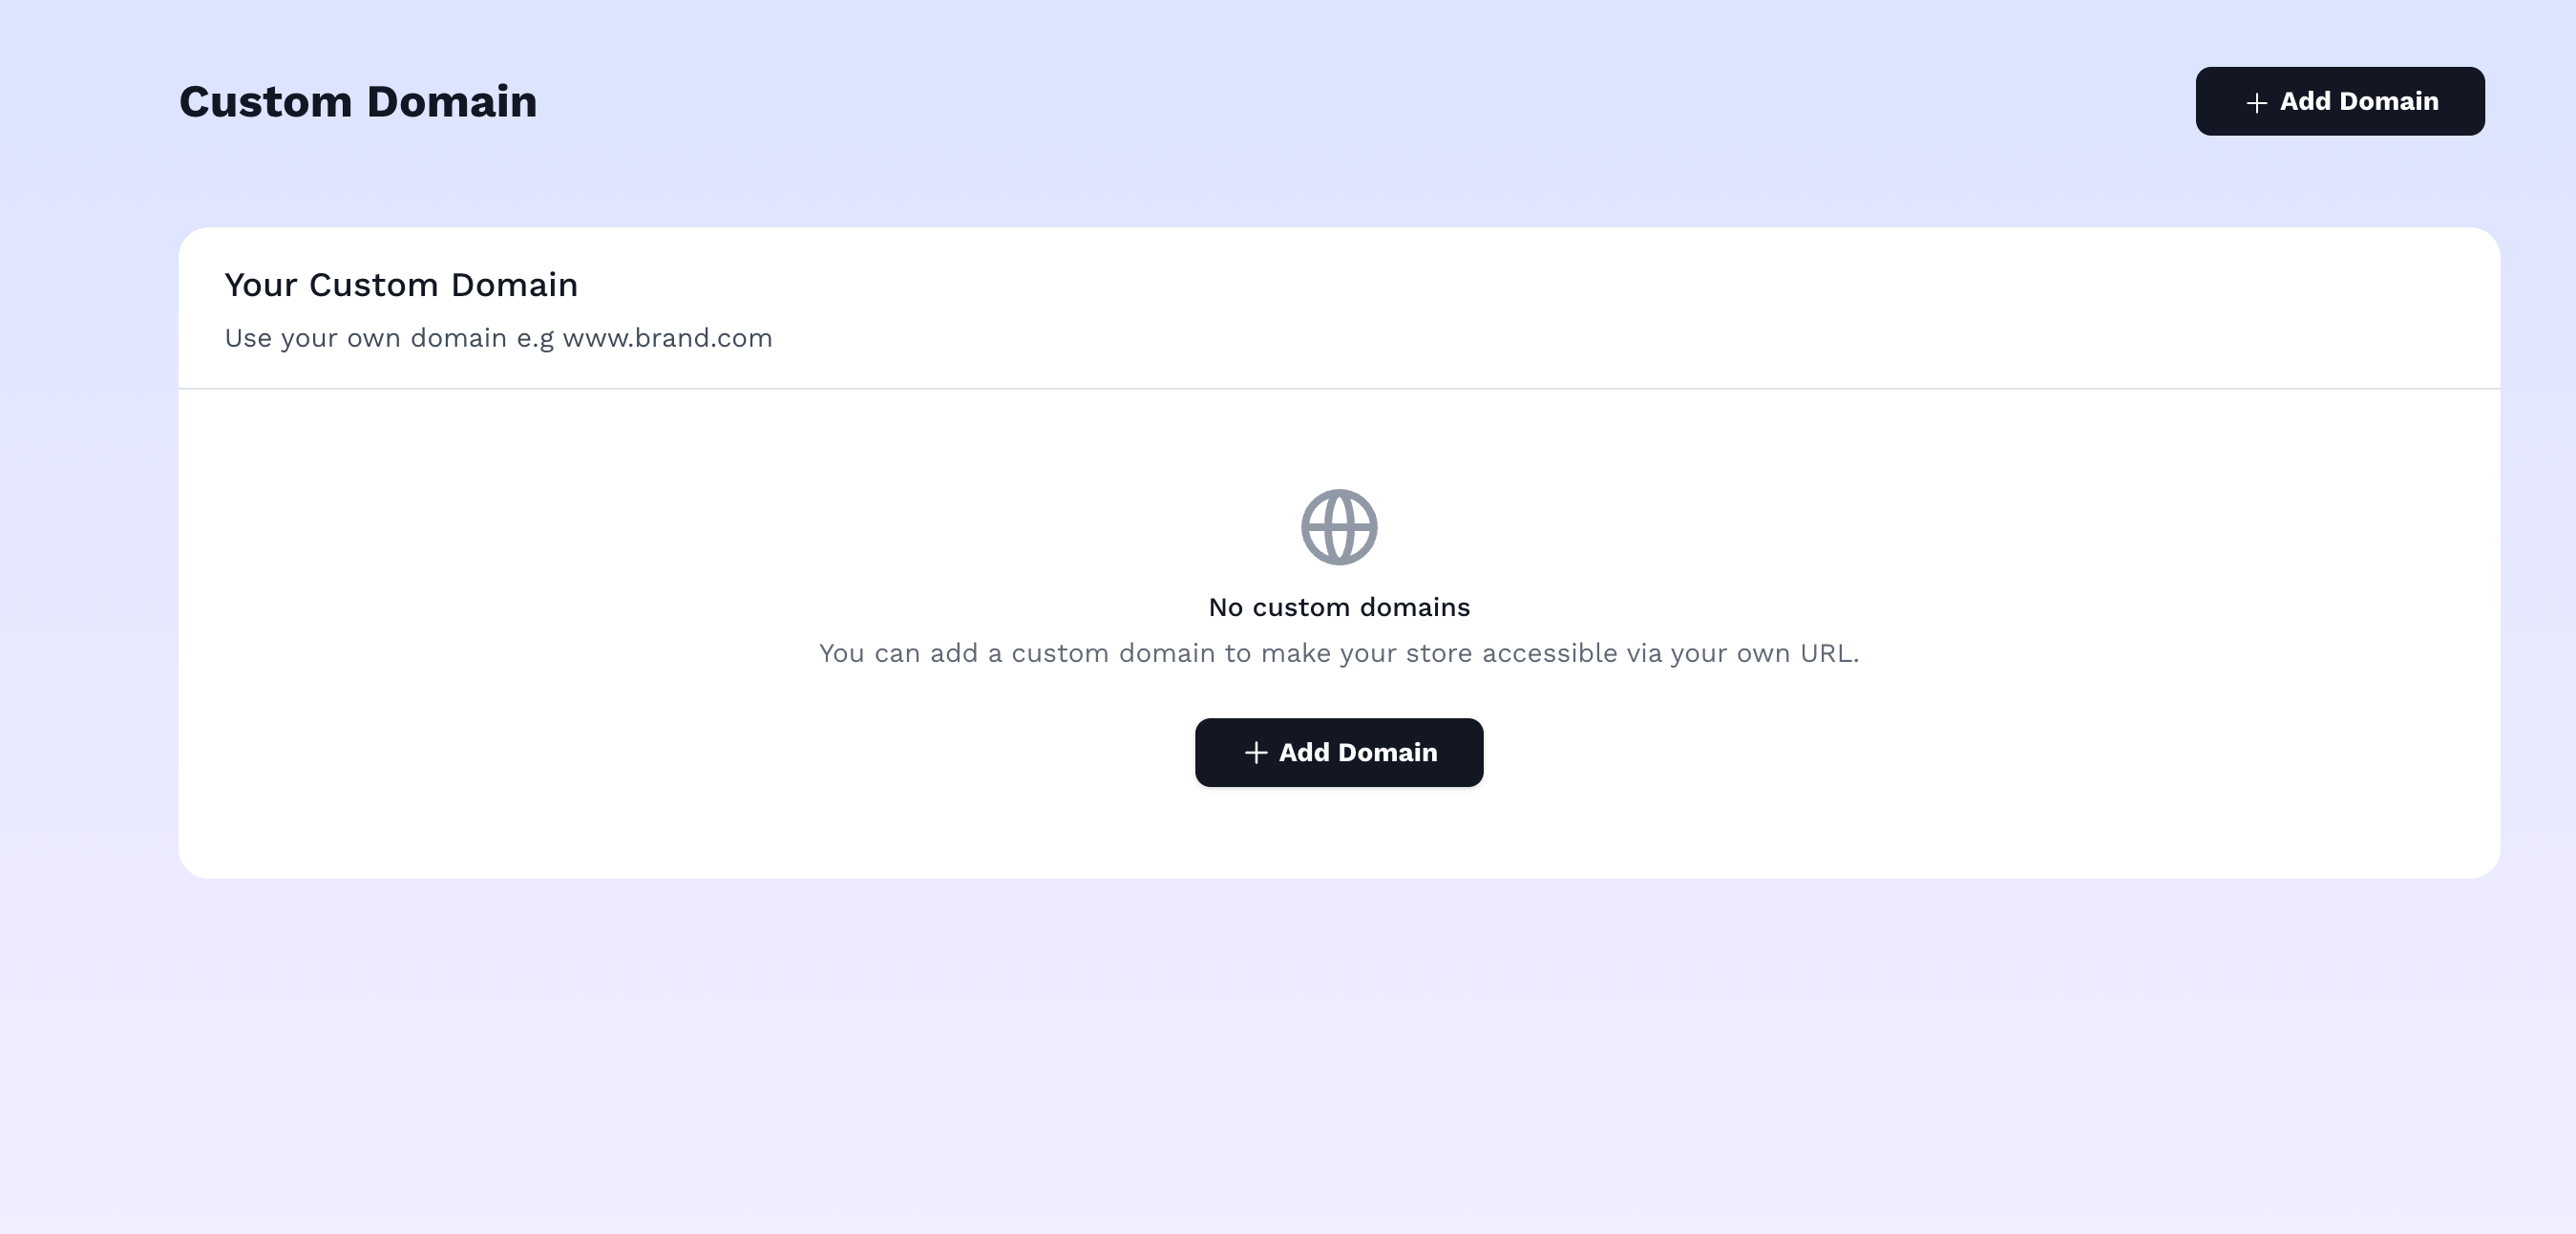
add domain
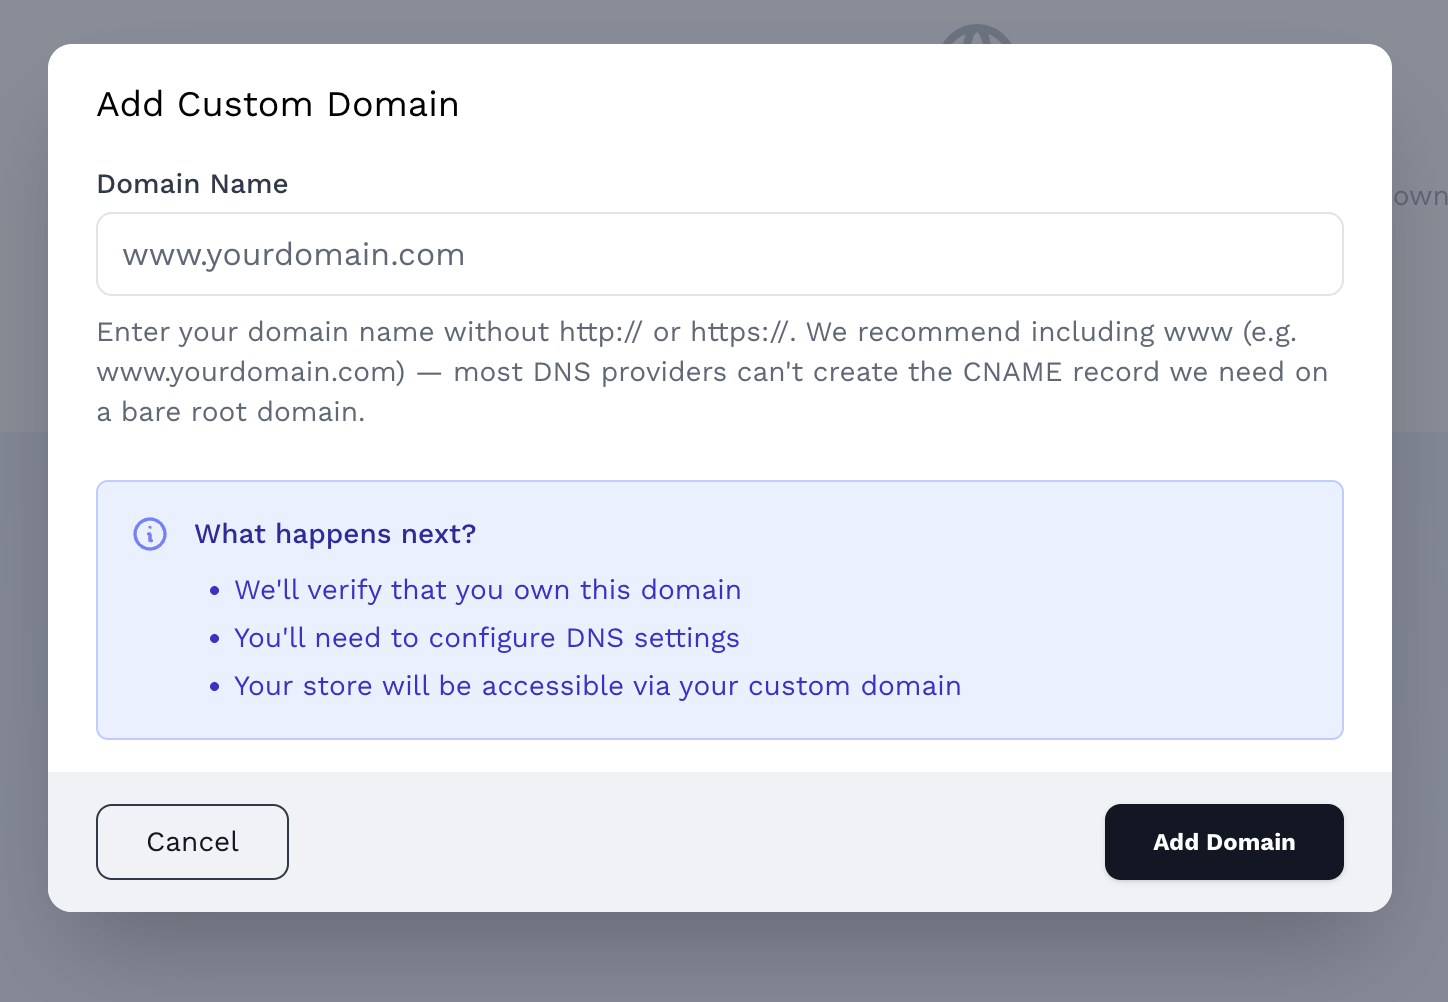
enter www.domainaddress
Important: Vendroad recommends using a www subdomain rather than a bare/apex domain (yourbrand.com). Most DNS providers can't create the CNAME record Vendroad needs on a root domain.
If you add a bare domain anyway, Vendroad will flag it with an Apex Domain Note telling you to delete it and re-add it as www.yourbrand.com instead — then use your DNS provider's domain forwarding/redirect feature to send the bare domain to the www version. Don't point the bare domain at Vendroad's servers directly: Vendroad's SSL certificate only covers the www version, so visitors hitting the bare domain over HTTPS would see a security warning.
Step 2: Configure your DNS
After adding the domain, open it from the list (Manage) to see your personalized setup instructions, which walk through three records to add at your domain registrar/DNS provider:
- CNAME record — points your domain (or its www name) at Vendroad's servers.
- TXT record (ownership verification) — proves you own the domain.
- TXT record (automatic SSL) — a separate TXT record at a different name, so Vendroad can auto-provision your SSL certificate. Don't add a CNAME for this one.
DNS changes can take up to 24 hours to propagate, so this step isn't instant.
Step 3: Verify and go live
Once you've added the records, click Refresh to Verify Ownership (or Refresh Status) on the domain's page. Vendroad checks:
- Domain ownership — verified via the TXT record
- DNS configuration — verified via the CNAME record
- Store accessibility — becomes active once both checks above pass
If anything's wrong, a Verification Issues panel shows the specific errors Vendroad hit while checking your DNS.
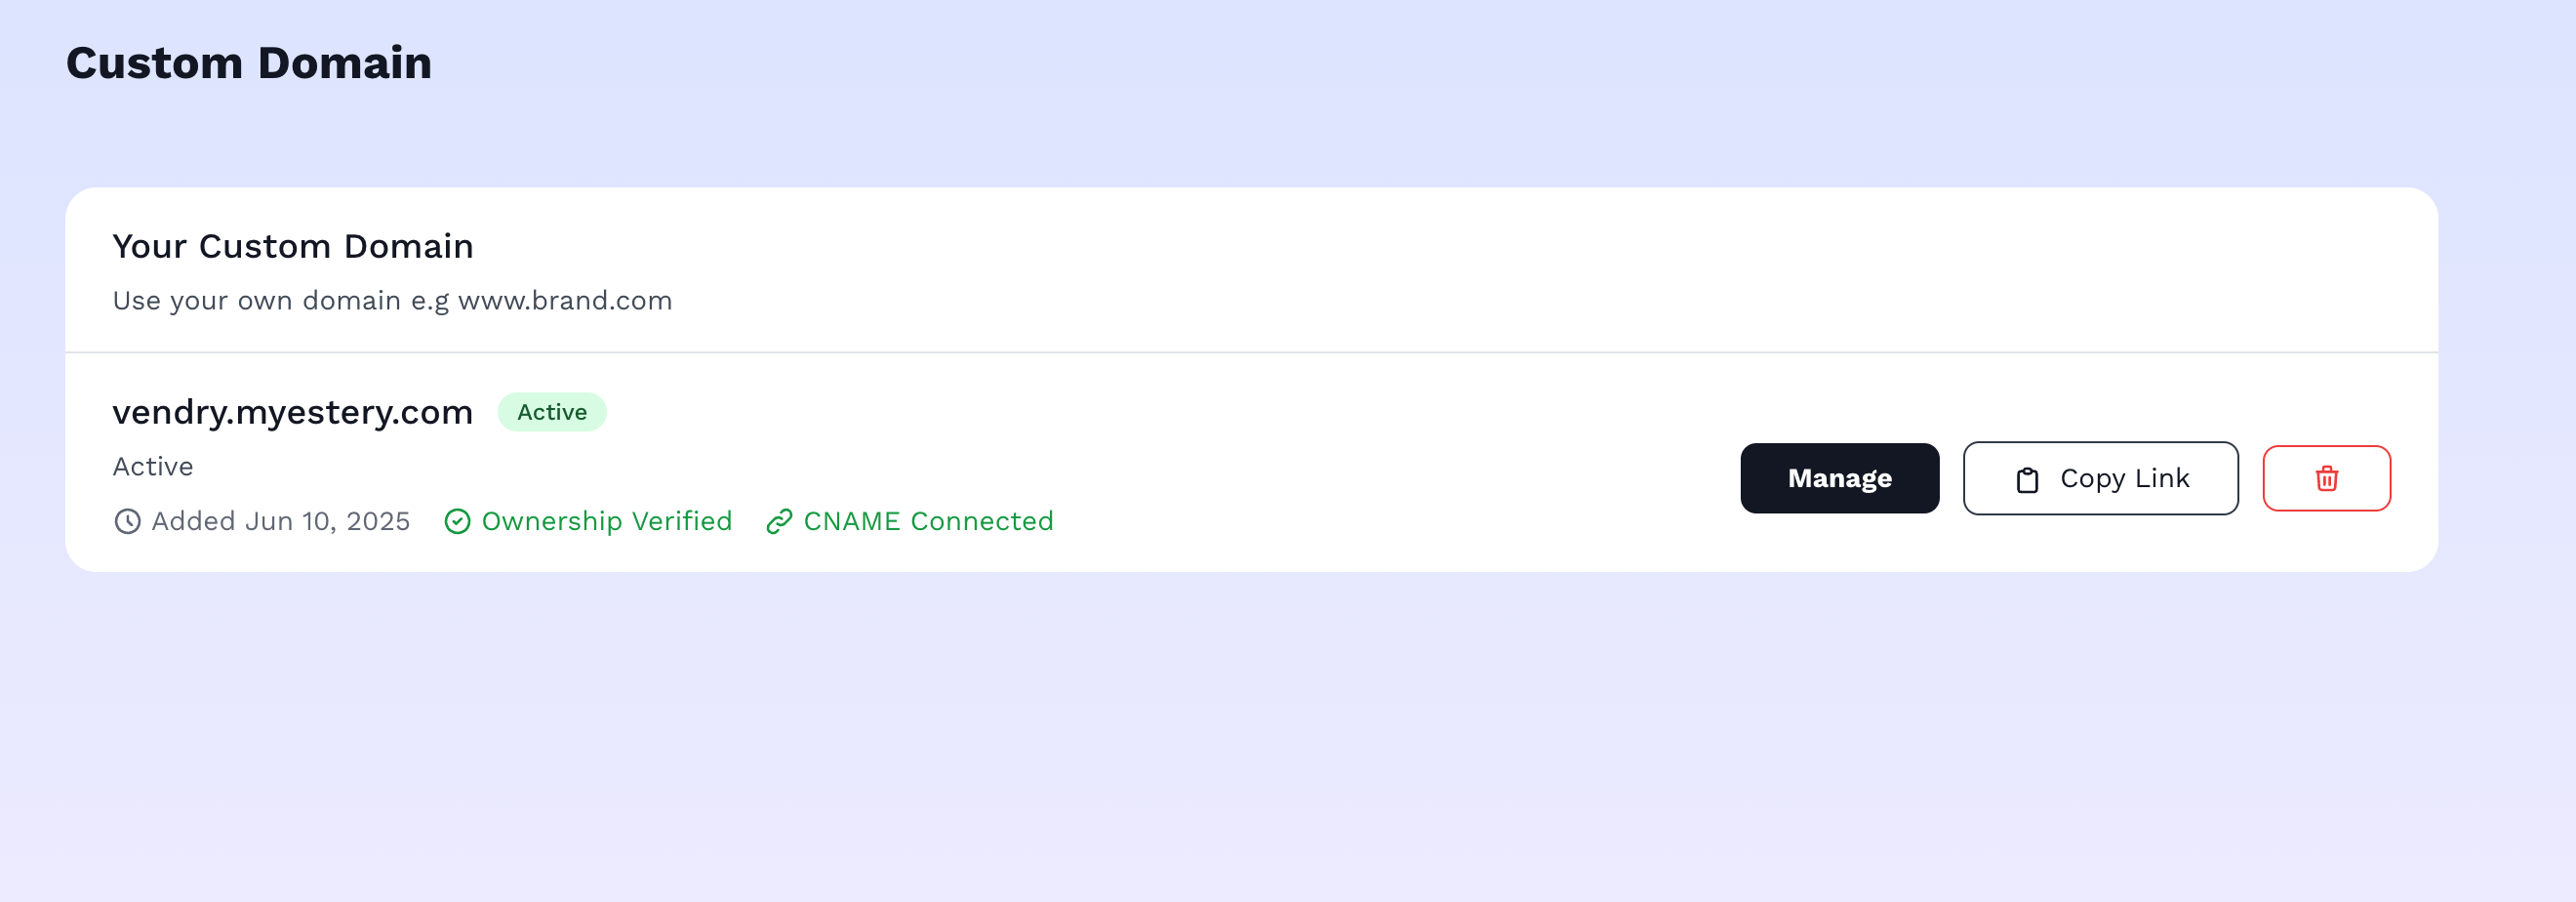
Domain is activated
Managing an existing domain
From the Custom Domain page, each domain shows its status and lets you Copy Link, jump into Manage for full details, or Delete Domain — deletion is immediate and takes the domain offline right away, so your storefront falls back to yourstorename.vendry.store.